In this post I will outline the steps for uploading your operating system image and creating a Task Sequence (TS) for OS deployment using Microsoft Endpoint Configuration Manager (MECM). Using MECM to deploy the latest OS in your environment can make the process smoother and quicker. I will be using the Windows 10 May 2021 Update (21H1) for my OS image. Before uploading an OS, you need to verify you have the latest Windows Assessment and Deployment Toolkit (ADK) as well as the Windows Pre-installation Environment (WinPE) installed on your MECM server. Lets get started.
Windows ADK and WinPE
Windows ADK includes all the tools necessary for customizing your image, testing the quality, and also the performance of your image. Beginning with Windows 10 version 1809, WinPE is no longer included with ADK and needs to be installed separately as an add-on afterwards. The most recent version of ADK as of this post is version 2004 (10.1.19041.1). You can download both the Windows ADK and WinPE add-on by clicking on the links below directly from Microsoft.
Download Windows ADK for Windows 10, version 2004
Download Windows PE add-on for ADK, version 2004
To see what is new and included with ADK, you can click here.
Before you can install the latest version Windows ADK and WinPE, you will need to uninstall any previous versions installed. The uninstall/install process may require a couple of restarts.
After you install the latest ADK and WinPE add-on you will need to update your boot images within MECM.
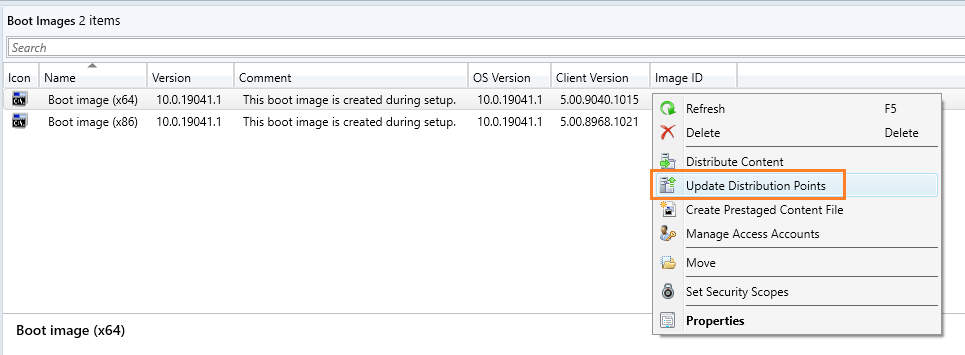
In MECM, navigate to Software Library>Overview>Operating Systems>Boot Images. Right click each boot image and click Update Distribution Points.
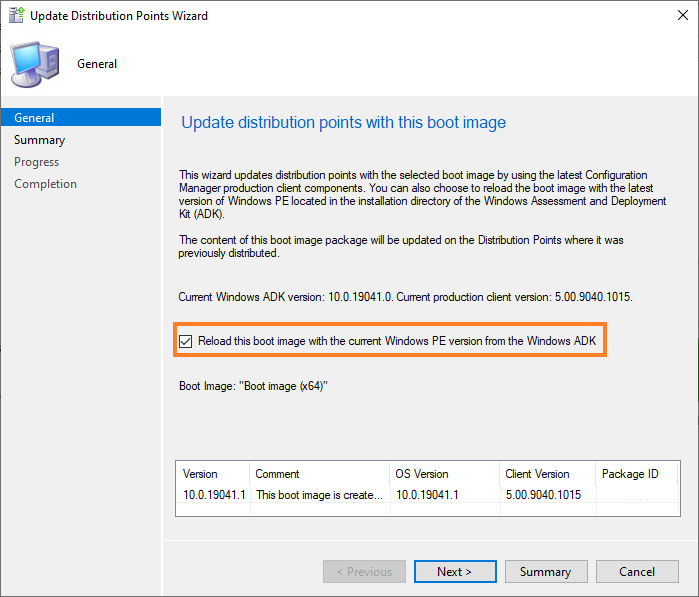
Check the box Reload this boot image with the current Windows PE version from the Windows ADK and click Next to complete the wizard.
MECM Support for Windows 10
Another important requirement is to verify your current version of Configuration Manager is compatible with the Windows 10 version you are wanting to deploy. The current branch version is 2103 and that is also the new baseline version for Configuration Manager. In order to deploy Windows 10 21H1 we need to make sure MECM is updated to current branch version 2103. Here is a chart provided by Microsoft outlining the Windows 10 versions supported by Configuration Manager.
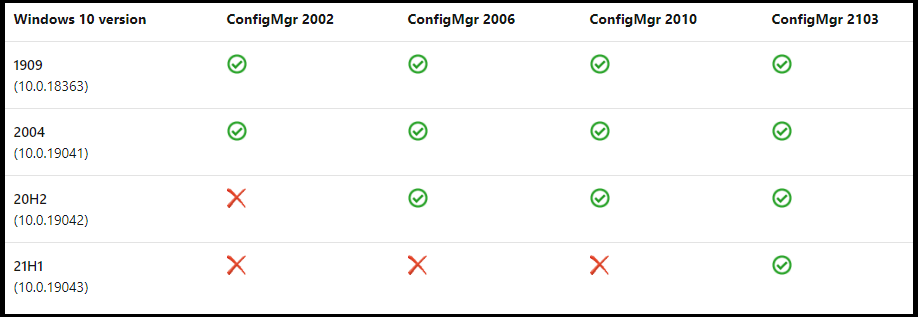
You can click here to learn more about the support scenarios of Windows 10, MECM, and ADK.
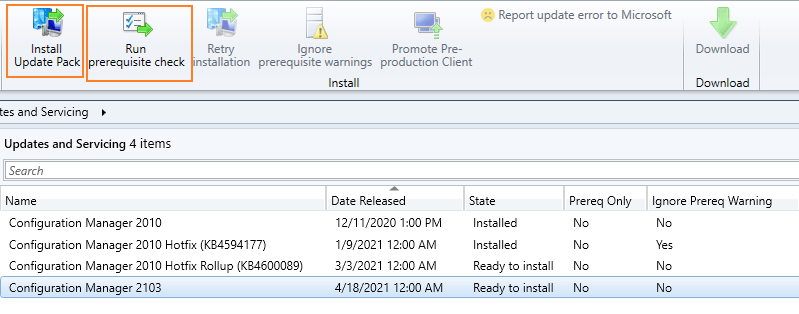
To update Configuration Manager to the 2103, navigate to Administration>Overview>Updates and Servicing. You will want to run the prerequisite check first before trying to install the update pack to avoid any issues.
Adding Windows 10 21H1
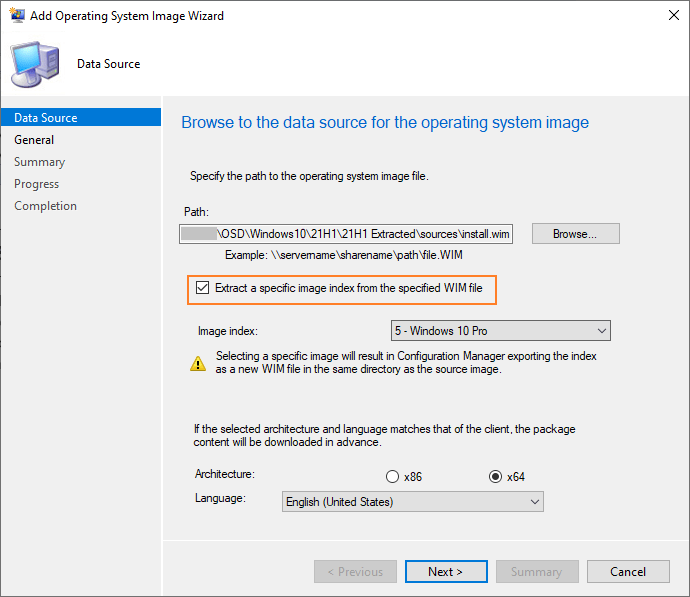
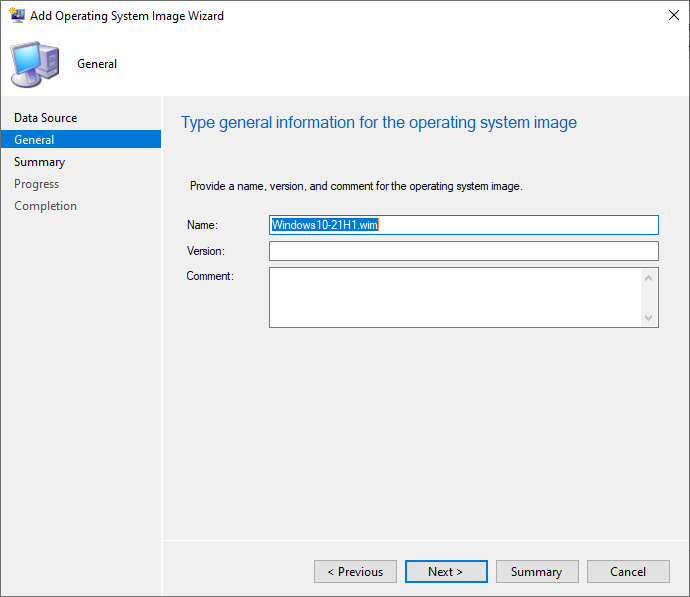
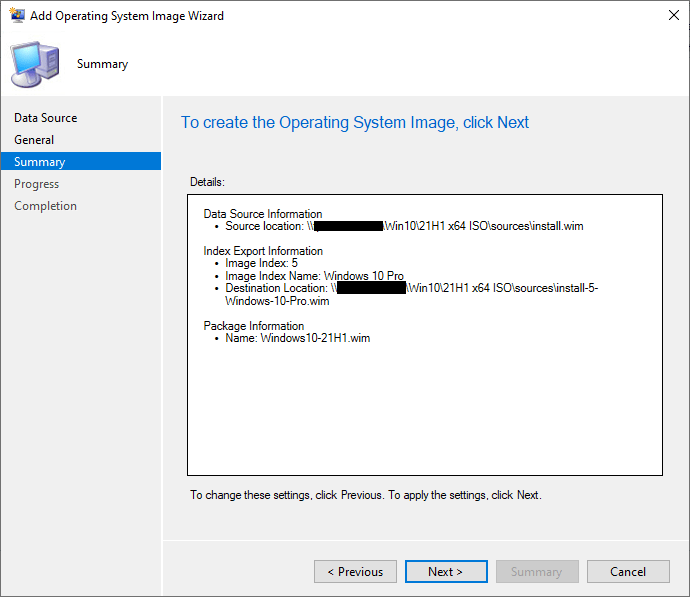
I’m downloading the 21H1 ISO directly from Microsoft VLSC so we can use the business editions. You will need to mount the ISO and then copy all of the files and folders to another location so we can upload the install.wim file from the Sources folder to MECM. In Configuration Manager, navigate to Software Library>Overview>Operating Systems>Operating System Images and click on Add Operating System Image. Choose the network path where you have the image saved. Click on Extract a specific image index from the specified WIM file and choose the version of Windows you want to use.
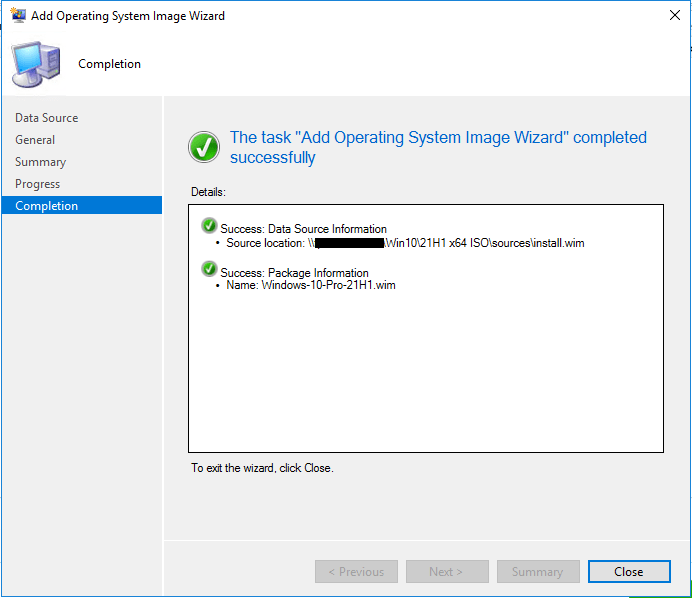
Distribute OS Image
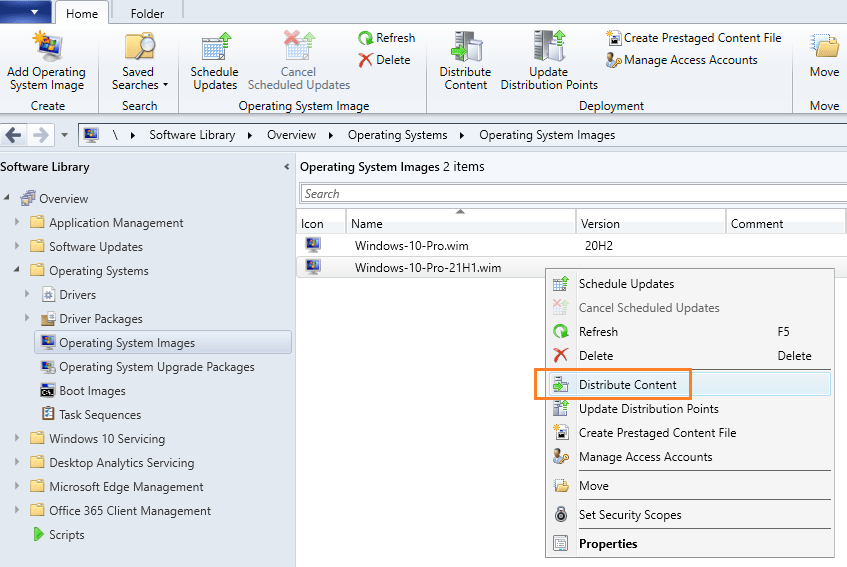
Next we need to distribute the OS image to our sites distribution points. Right click on the image and select Distribute Content. Choose your distribution points and click Next until complete.
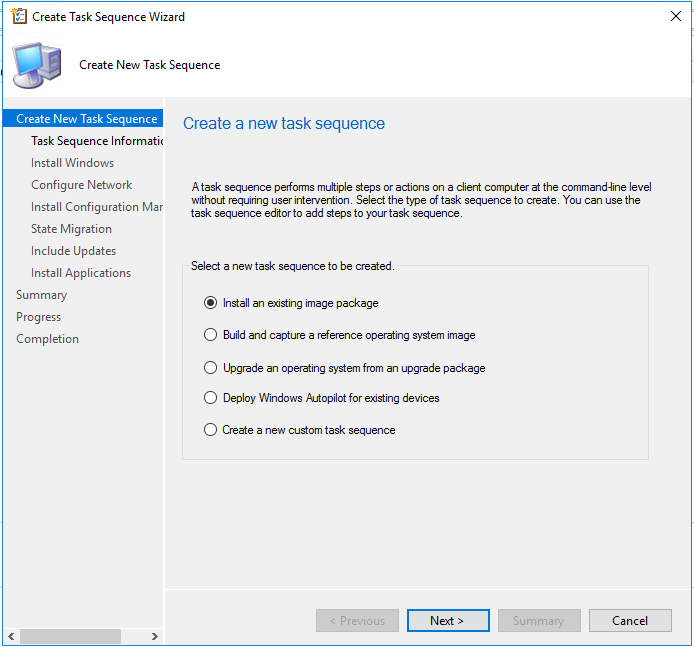
Create Task Sequence
Click on Task Sequences and select Create Task Sequence. Click Next on Install an existing image package.
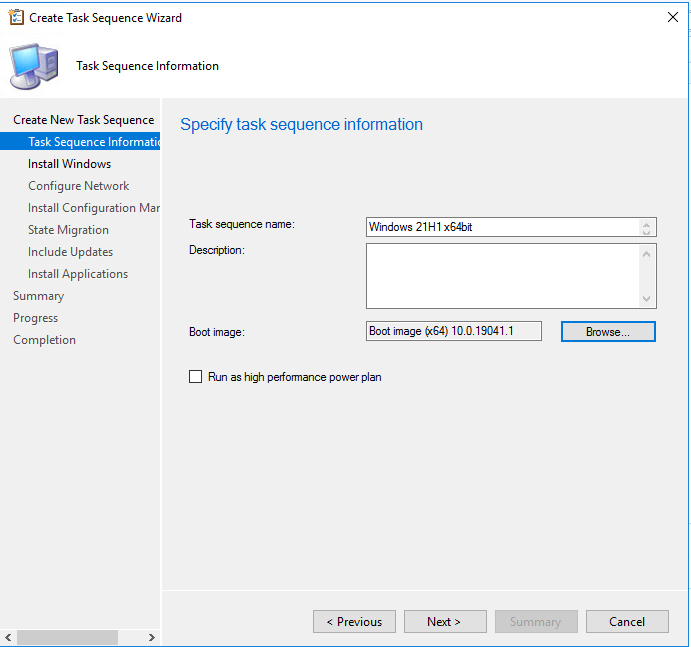
Select the boot image and click Next.
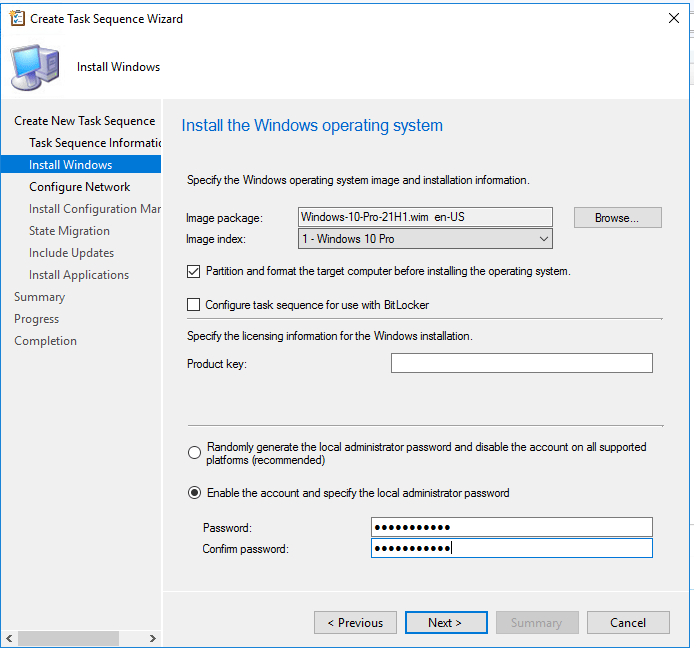
Select the OS image and appropriate options for your organization. Click Next.
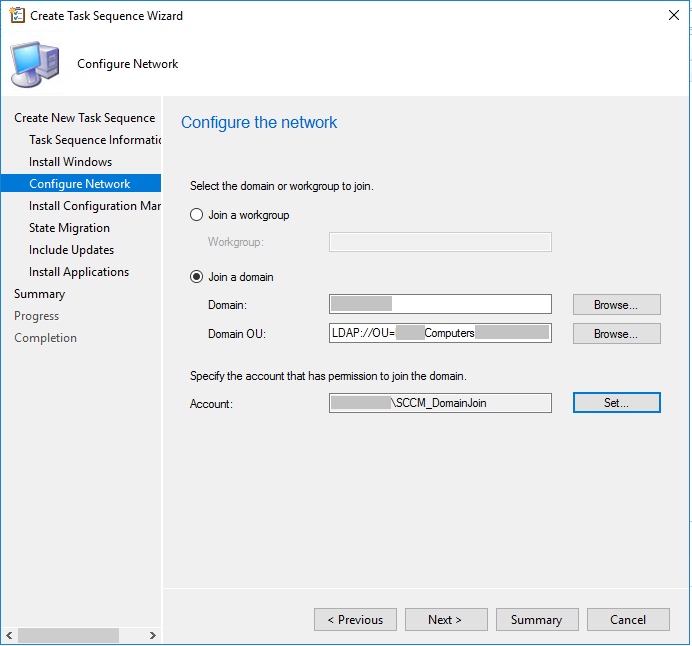
You can choose to join a workgroup or domain. Click Next.
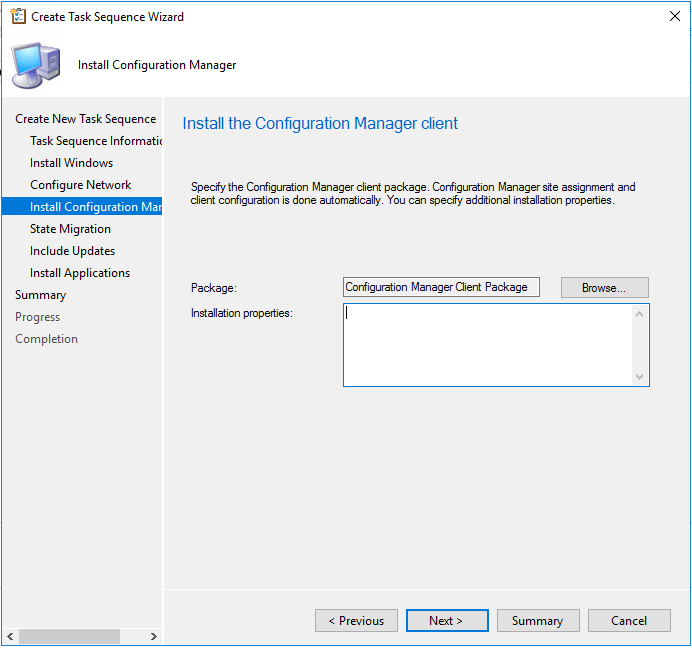
Click Next.
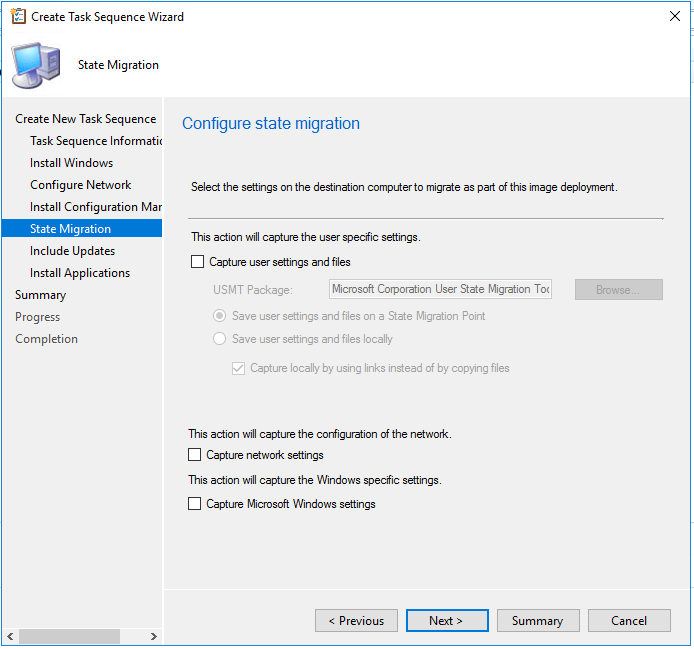
Uncheck option for capturing user state migration settings. Click Next.
Click Next.
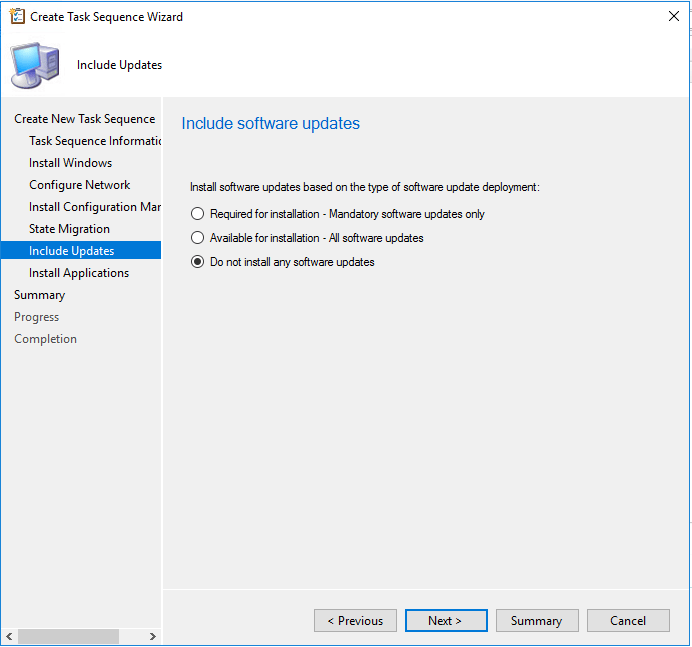
You can choose applications to install with the Task Sequence. Click Next.
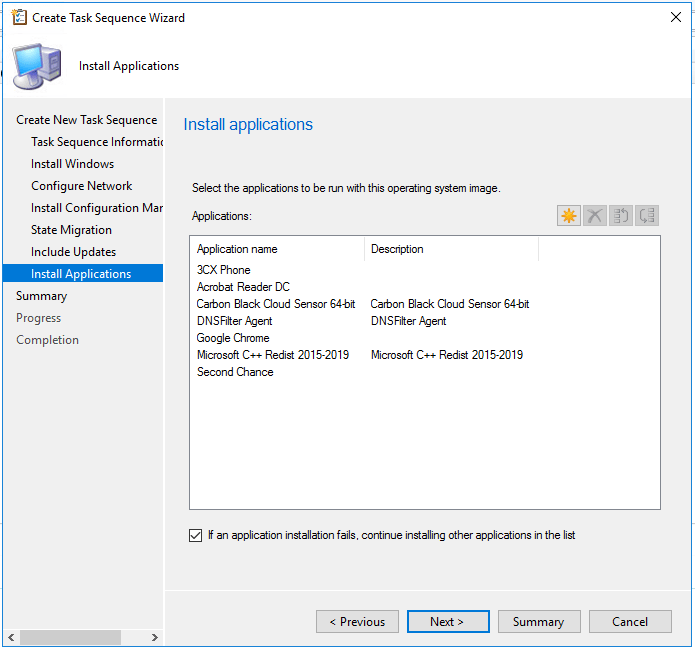
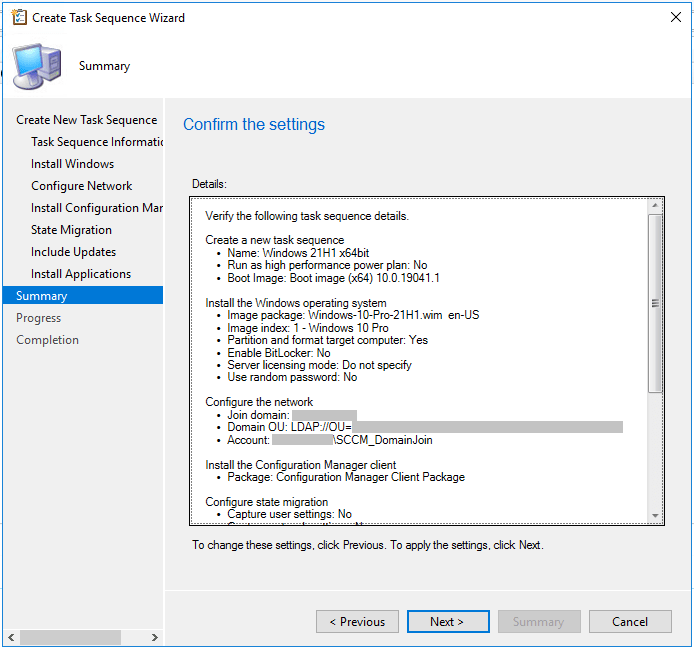
Click Next.
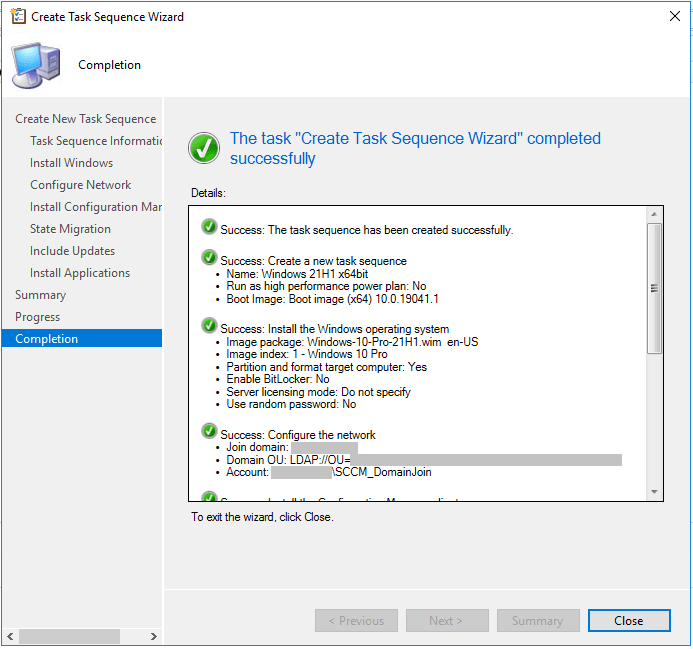
Click Close.
Deploy Task Sequence
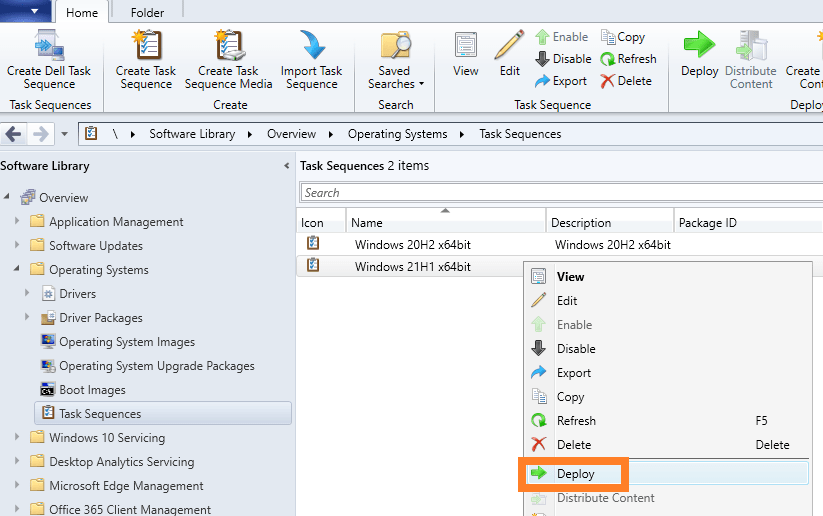
Right click on the Task Sequence and click Deploy.
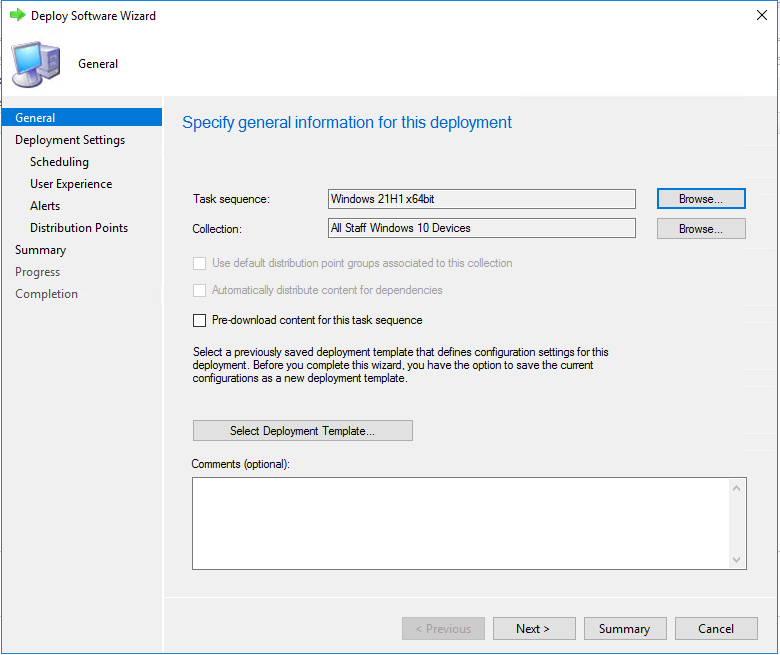
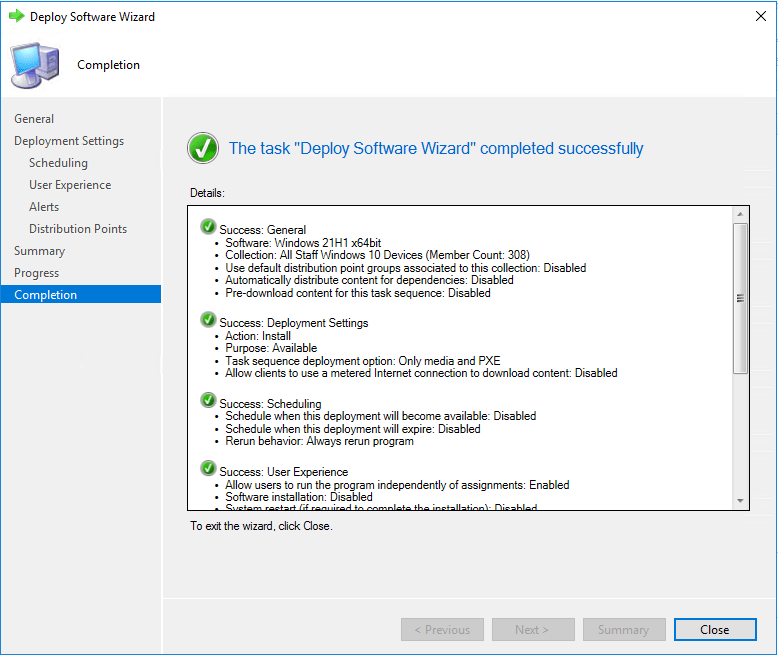
Choose the collection you want to deploy to and click Next.
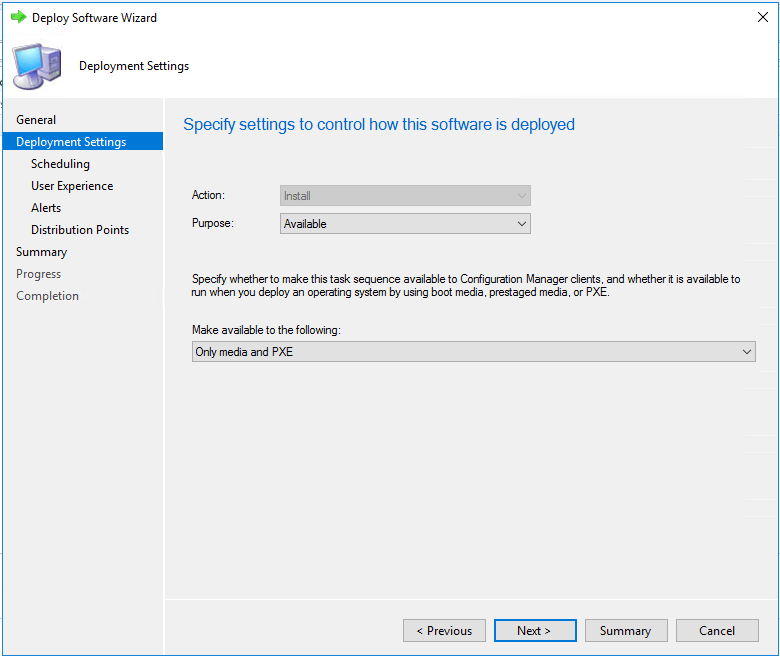
Leave the purpose as Available and select Only media and PXE from the drop down. Click Next.
Click Next.
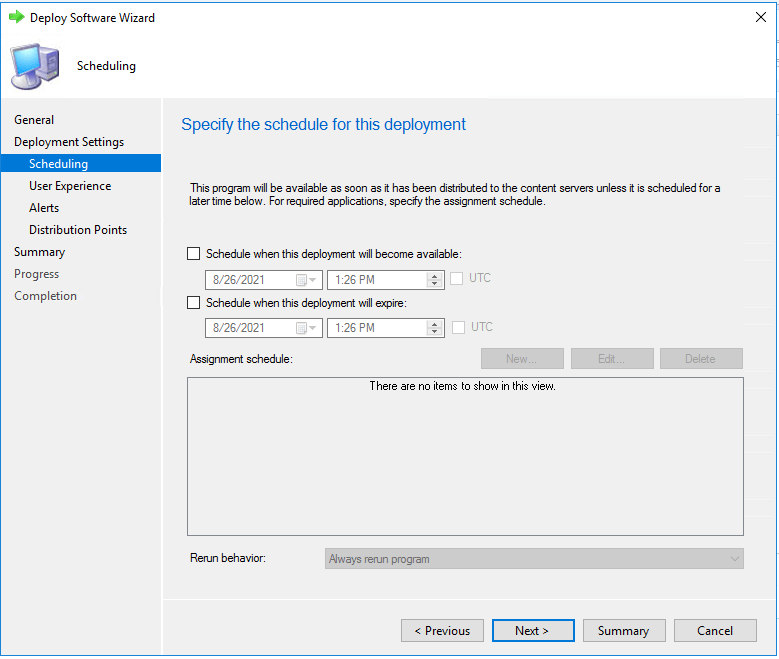
Click Next.
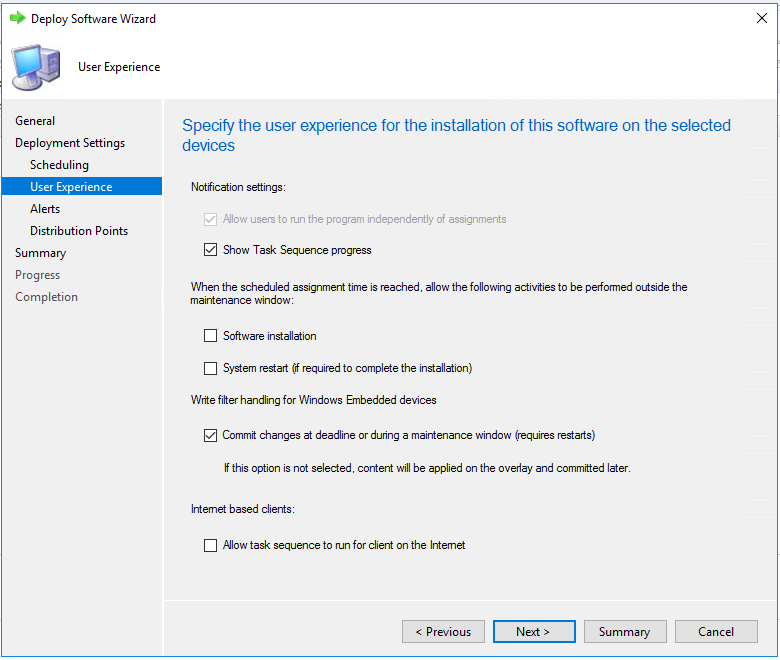
Click Next.
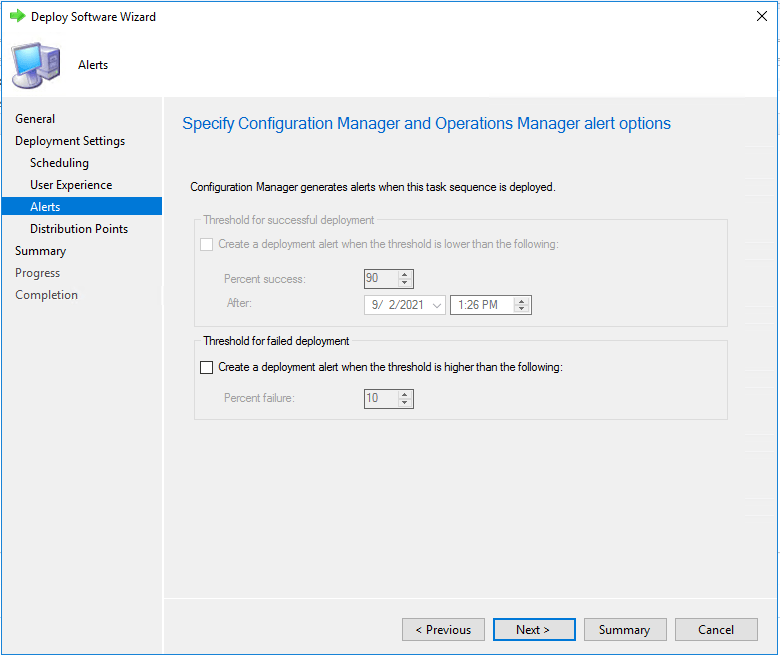
Click Next.
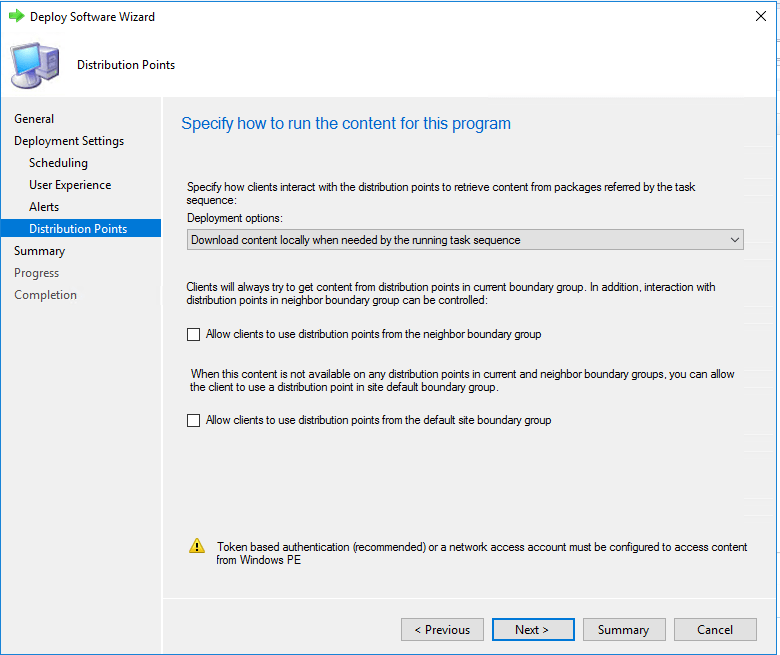
Click Next.
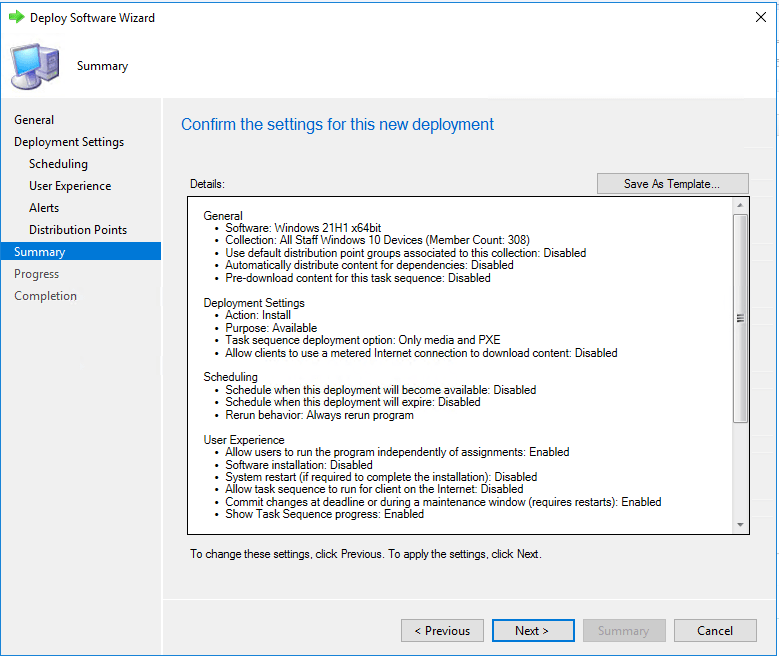
Click Close.
Conclusion
At this point, you can attempt to image a device with the newly created Task Sequence by creating Task Sequence media or booting to PXE.
Troubleshooting
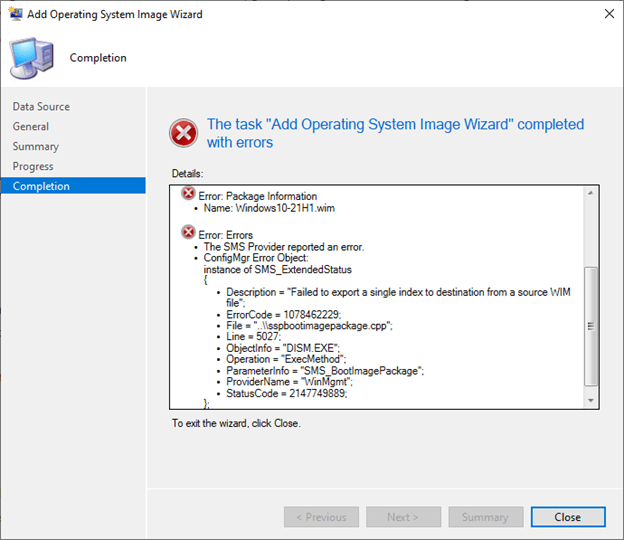
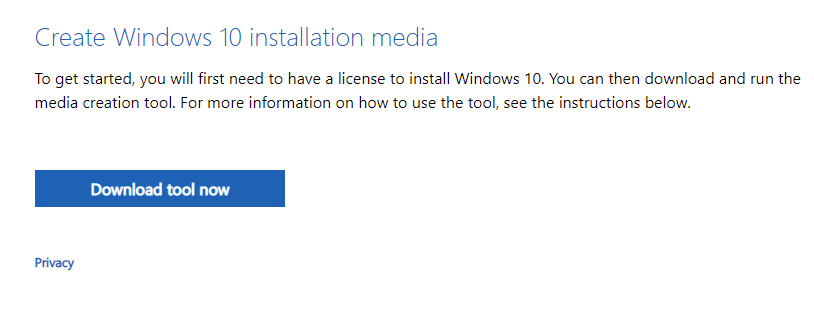
If you come across issues extracting the WIM file using SCCM then you can do it manually by using the Media Creation Tool. Navigate to https://www.microsoft.com/en-us/software-download/windows10 and download the Media Creation Tool.
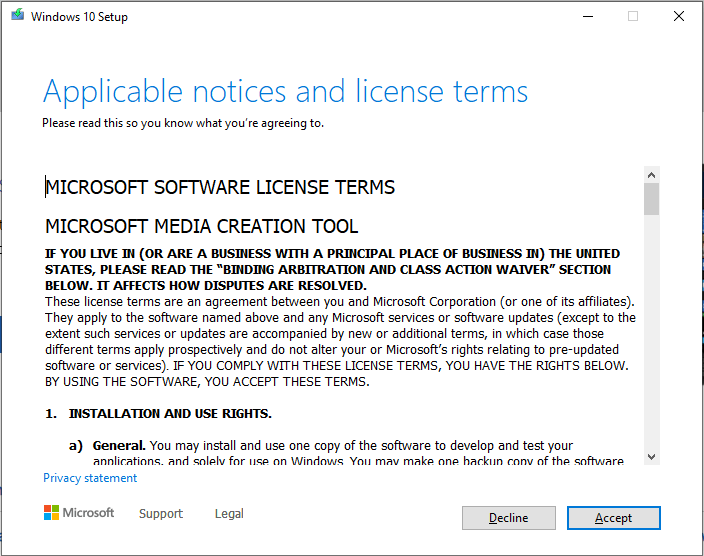
Click on Accept.
After a few seconds, you will see the screen below. Check the box Create installation media (USB flash drive, DVD, or ISO) for another PC. Click Next.
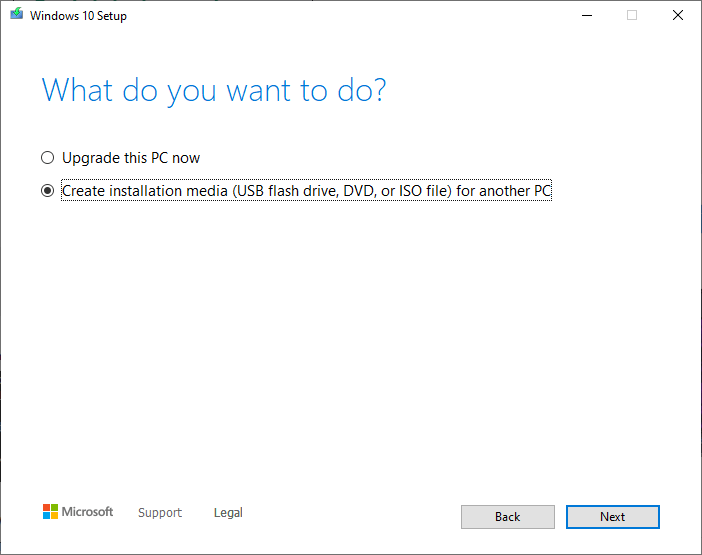
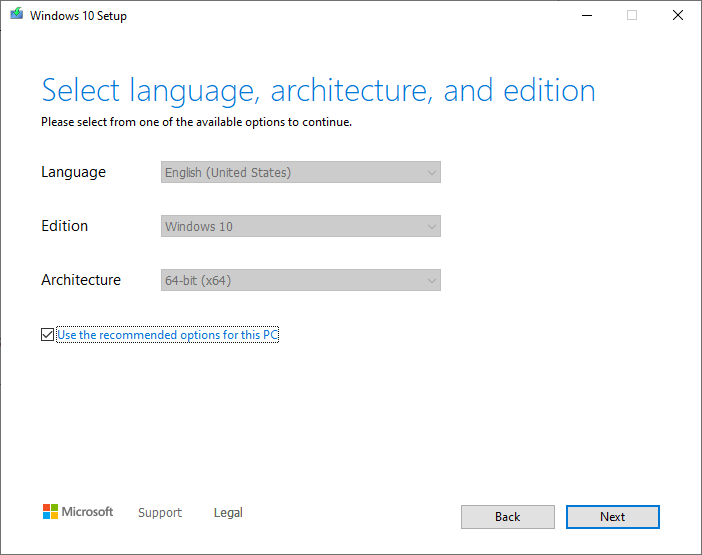
Click Next.
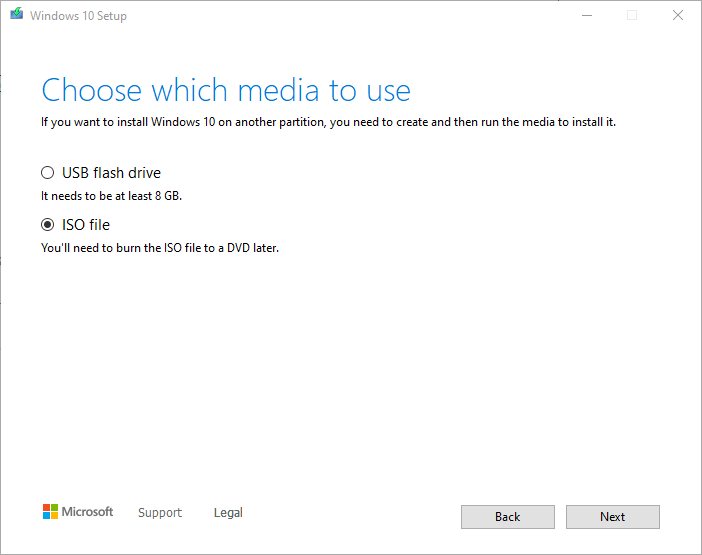
Select ISO file and click Next. Choose the file path to save the ISO and wait for it to finish.
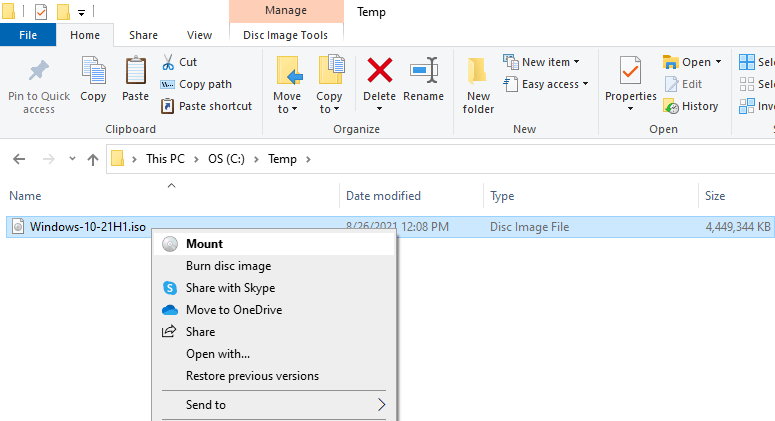
Mount the ISO and copy all of the contents into a different folder on your PC.
Navigate to the Sources folder and copy the install.esd file to another location.
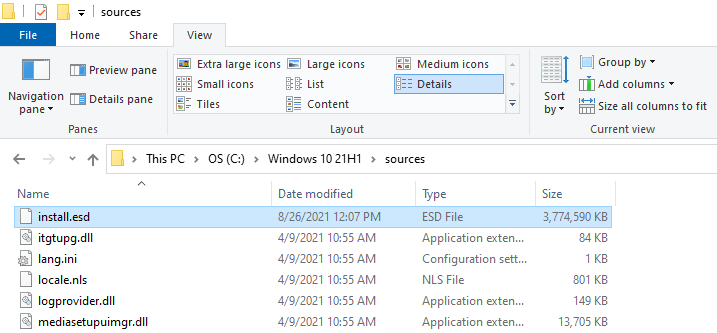
Open Command Prompt or PowerShell and set the location to where you pasted the install.esd file.
We are going to use DISM to find out the index number for the version of Windows 10 we want. Type the text below to get the index list.
dism /Get-WimInfo /WimFile:install.esd
Since we want to use Windows 10 Pro we will be using index 6.
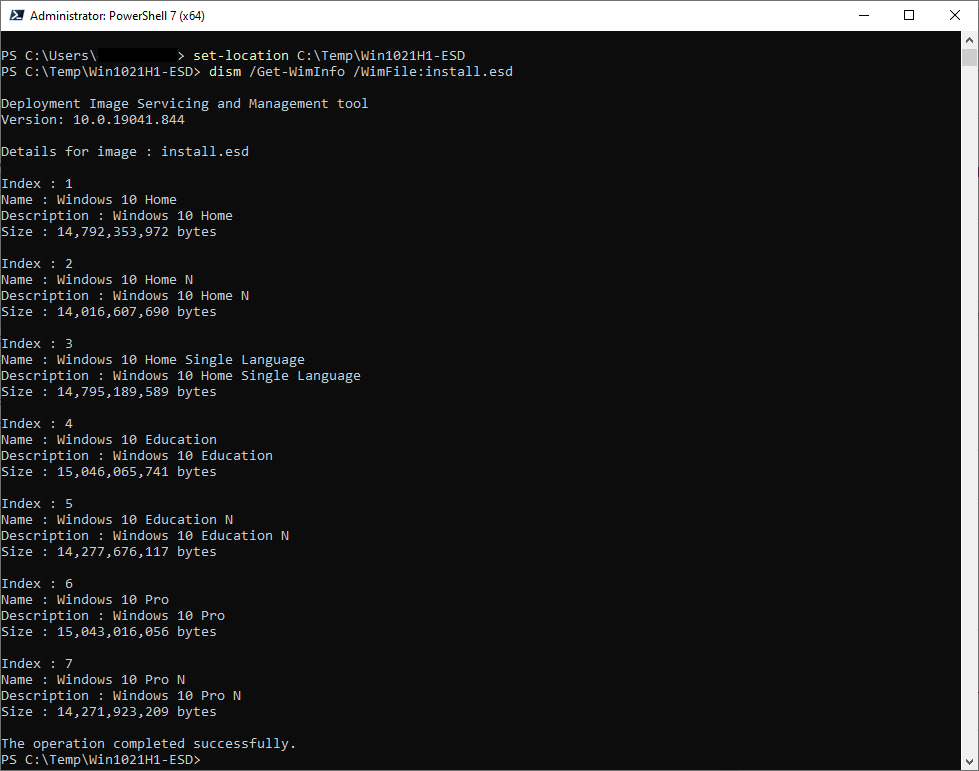
Next we will export the index into it’s own .wim file for uploading to SCCM. Type the text below to complete this. It can take up to 30 minutes to complete.
dism /export-image /SourceImageFile:install.esd /SourceIndex:6 /DestinationImageFile:install.wim /compress:max /checkintegrity
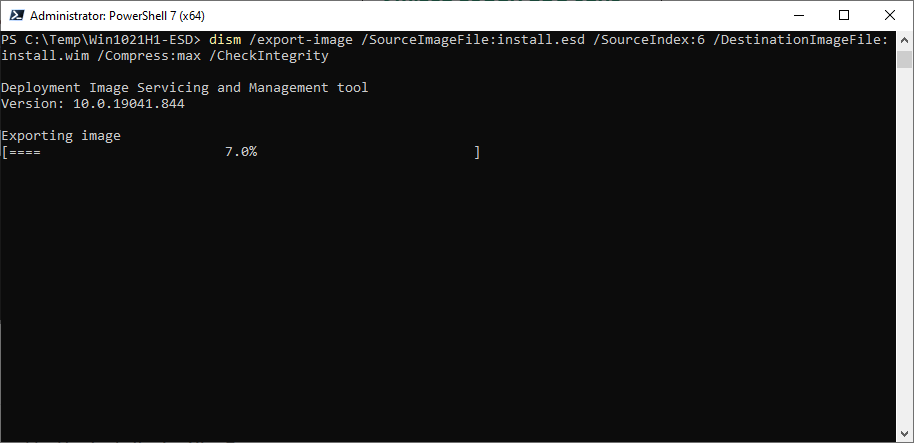
Once completed, you can upload this install.wim file into SCCM.

