StarWind V2V Converter allows for converting virtual machines to and from several architectures. In this post, we will be covering how to convert an Azure VM to a VMware environment. First, you will need to install StarWind V2V Converter. You can download it here.
Create Azure Application
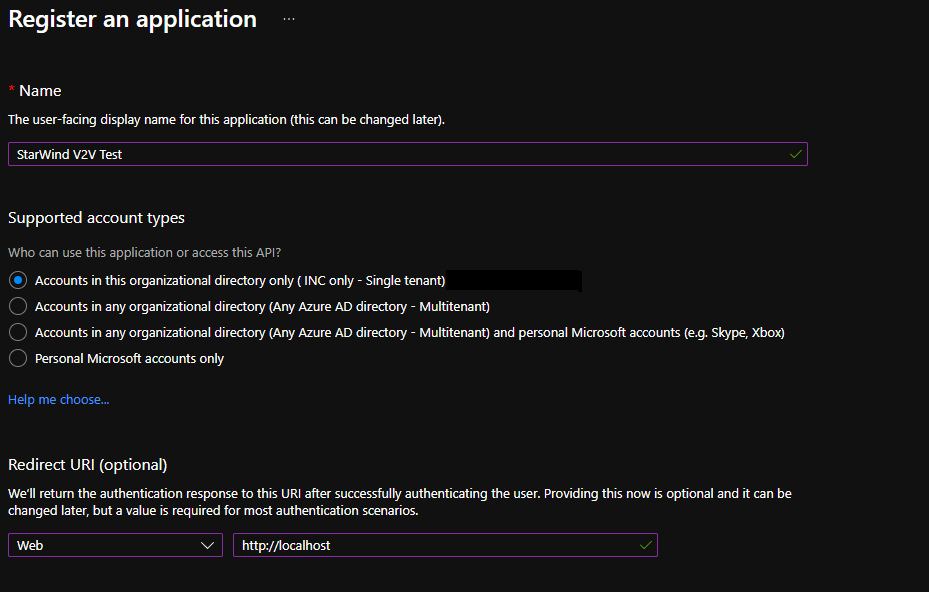
We need to register a new application within Azure Active Directory to gain credentials for later. Navigate to Azure Active Directory>App registrations and click on +New registration. Give your new application a name and keep the default Support account type. For Redirect URI, choose Web in the dropdown and type http://localhost. Click Register.
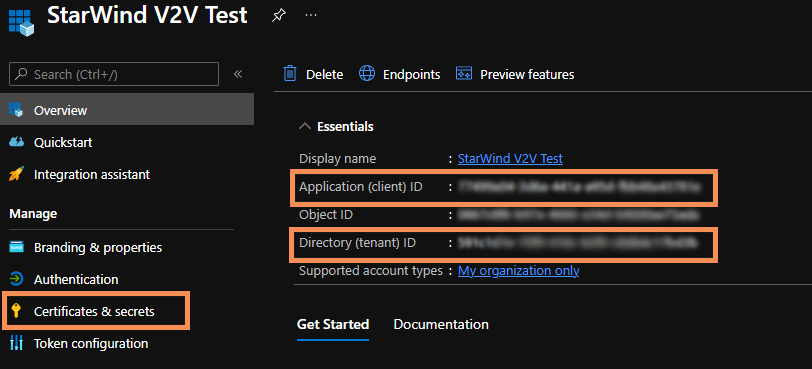
The application details are opened automatically once the registration completes. Note the Application (client) ID and the Directory (tenant) ID. Click on Certificates & secrets to create a new client secret.
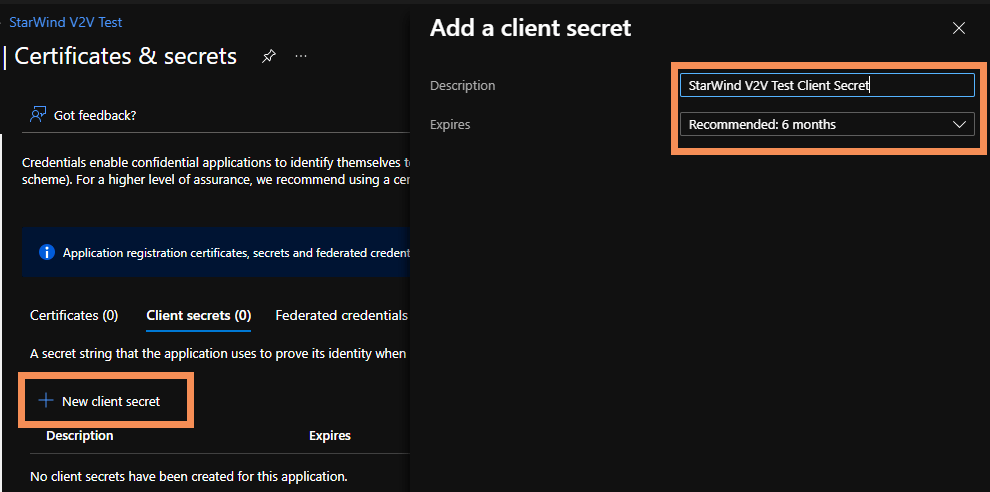
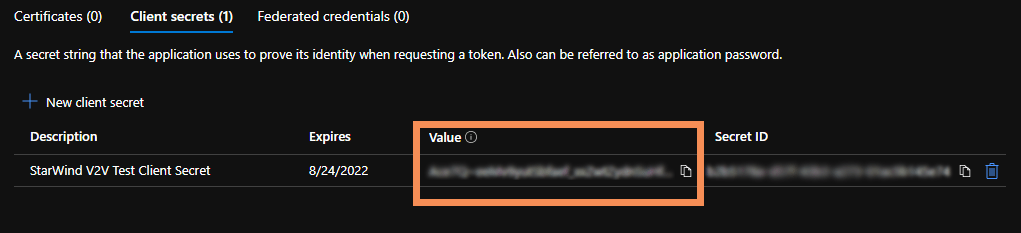
Under the Client secrets tab, click on +New client secret. Give it a description and choose the expiration length. Click Add.
Take note of the Value.
Navigate to your Subscription and click on Access control (IAM).
Click +Add to add a new role assignment.
Select the Contributor role and click Next.
For Members, click +Select members and search for your new application.
Click Next and then click on Review + assign.
Convert Azure VM to VMware
Before you begin to convert a VM, you need to verify the machine is powered off.
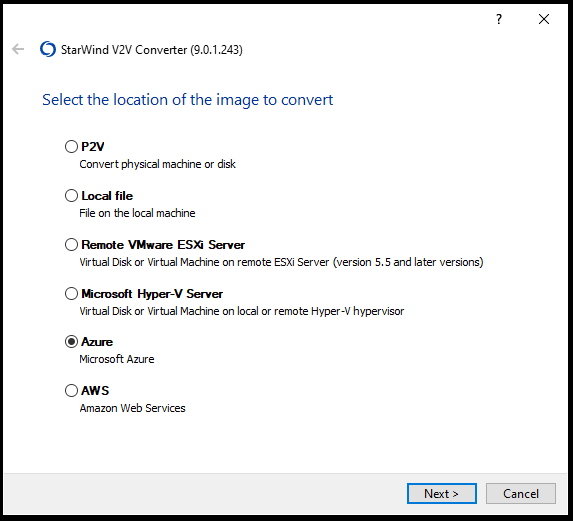
Open the StarWind V2V application and select Azure. Click Next.
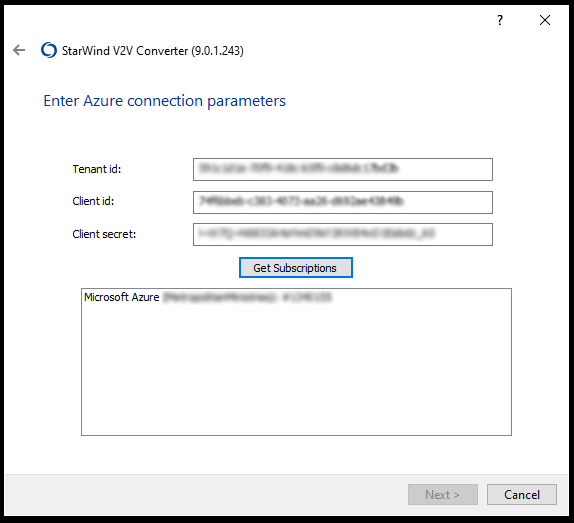
Enter in the Azure connection parameters you copied earlier and click on Get Subscriptions. Once your subscription appears, select it and click Next.
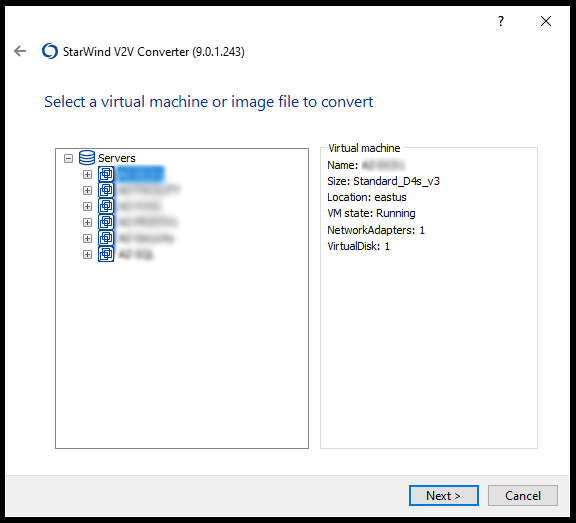
Choose the VM to convert and click Next.
This can take some time depending on the size of your VM.

