In this post, I will go over the steps to deploy Windows 10 updates to your devices. There are many different ways you can deploy updates and also many different types of updates you can deploy. This guide is strictly for instructional purposes. You should be planning and testing Windows Updates before actually deploying them to your production environment. With that said, lets go ahead and setup an update group.
First, we need to verify the Software Update Point (SUP) is configured properly. We are starting to deploy Windows 10 20H2 in our environment and want to make sure 20H2 updates are being applied.
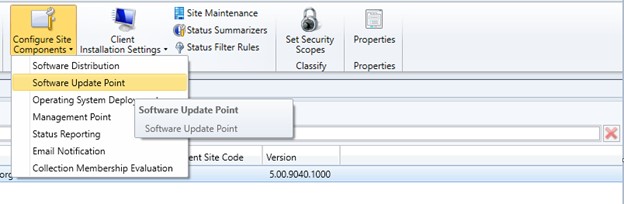
Navigate to Administration>Site Configuration>Sites and click on the site that has the SUP. At the top of the screen, click on Configure Site Components and select Software Update Point.
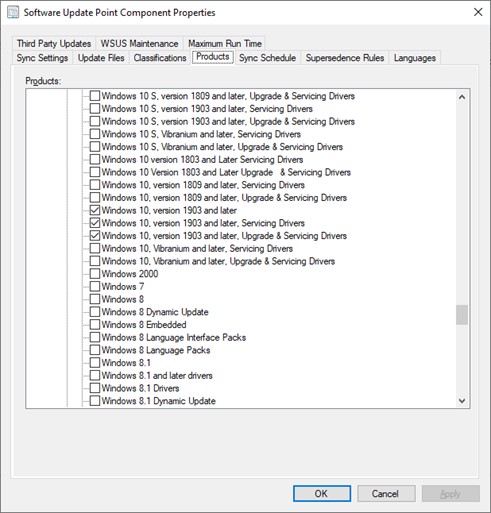
Within the SUP properties, click on the Products tab and scroll down to Windows until you see Windows 10, version 1903 and later and click the box to select.
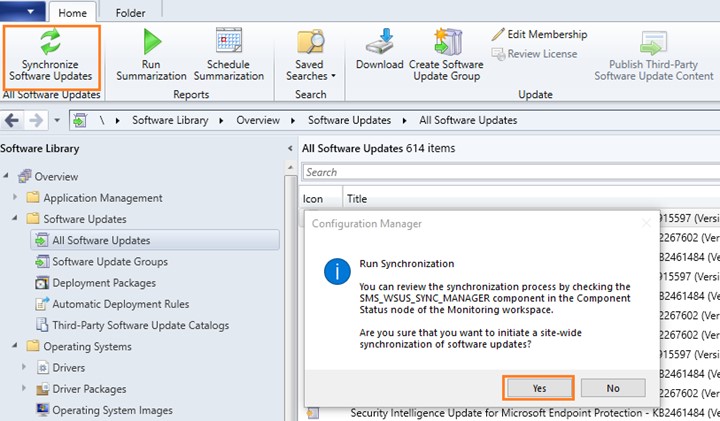
Next, we need to run a synchronization. Navigate to Software Library>Software Updates>All Software Updates and click on Synchronize Software Updates.
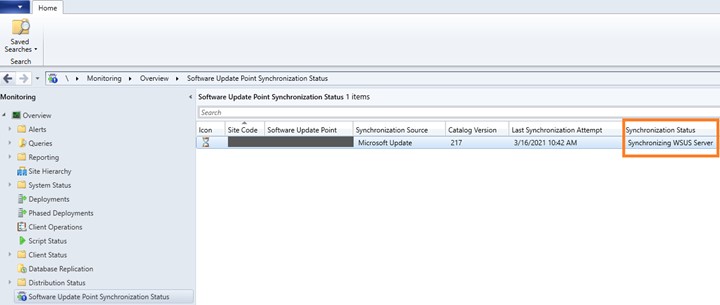
You can check the status of the synchronization by navigating to Monitoring>Distribution Status>Software Update Point Synchronization Status. You can also check the status by opening the wsyncmgr.log file from C:\Program Files\Microsoft Configuration Manager\Logs.
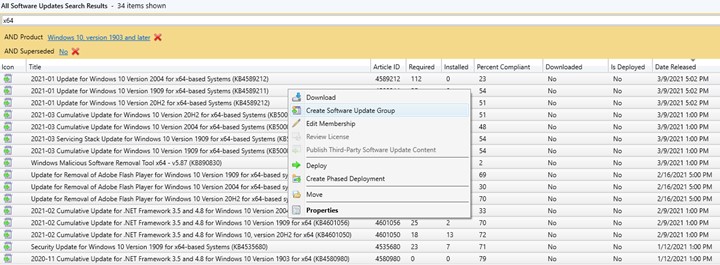
Now, we will search for the updates we want and create a Software Update Group. Adding criteria helps narrow down the list. I only want to search for x64 based Windows 10 updates and choosing ‘no’ for superseded. We are leaving out the Architecture criteria since that seems to be unreliable, at least in my experience. Instead, I will type x64 in the search field. I’m highlighting all of the updates from 2021 so far and adding them to an update group.
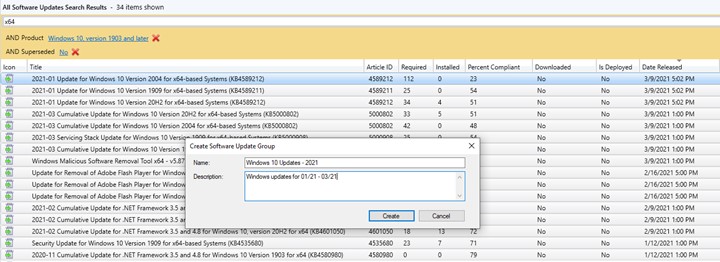
Next, we will navigate to Software Library>Software Updates>Software Update Groups, right click on the group that was just created and Deploy. Type in the Deployment Name and choose the Collection you will be deploying this to and click Next.
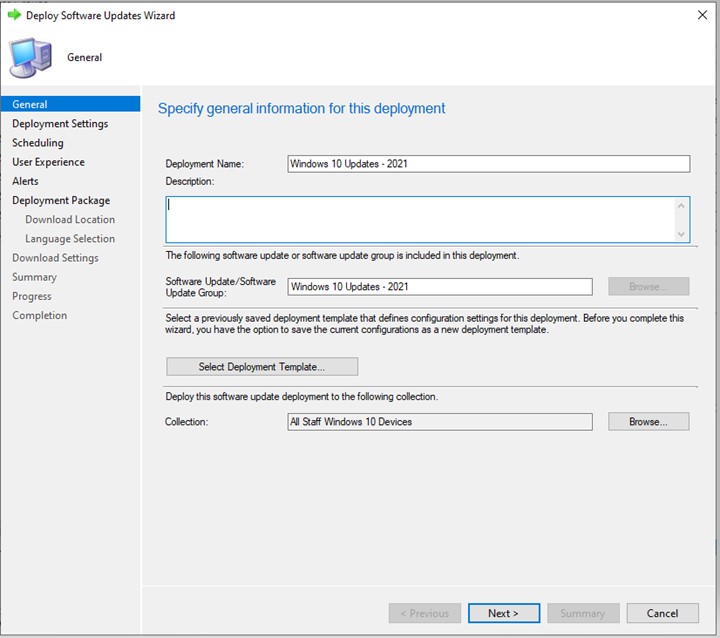
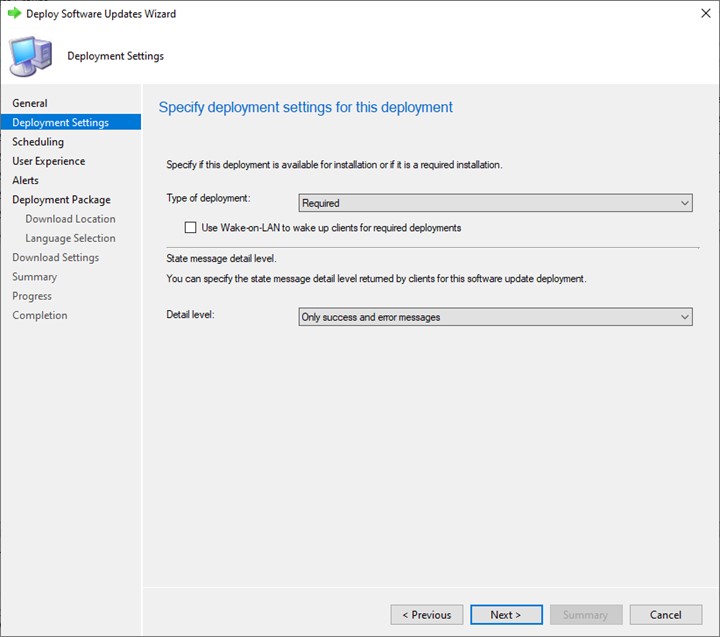
I will keep the Type of deployment to Required and click Next.
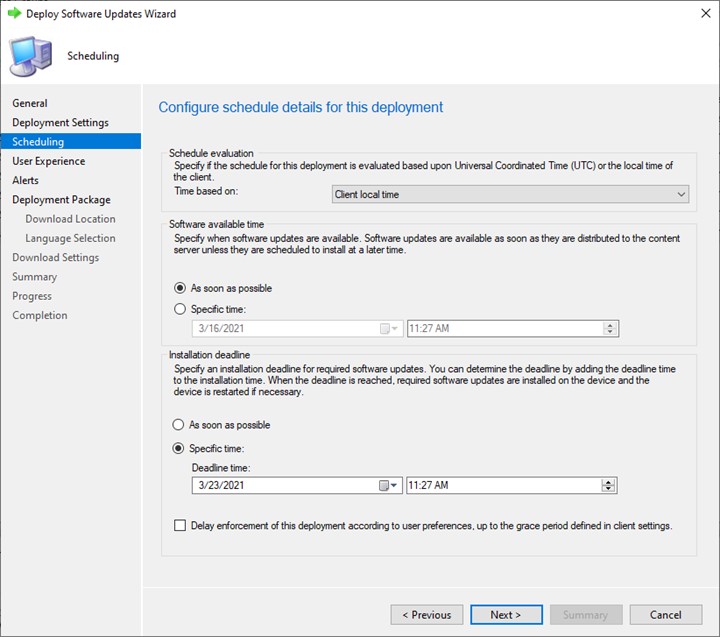
If you want to setup a specific schedule, you can do that here.
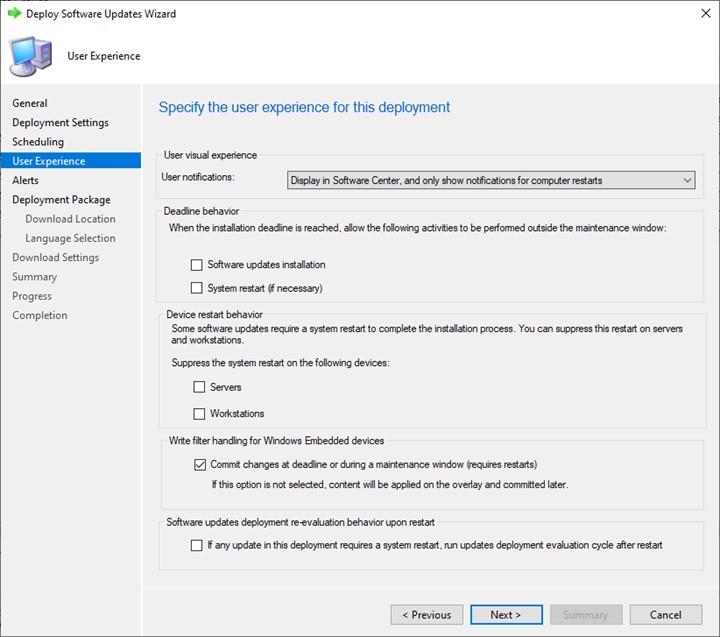
I will change User notifications to only show notifications for computer restarts. Lots of our users have complained of too many messages from Software Center so this will be less annoying for them.
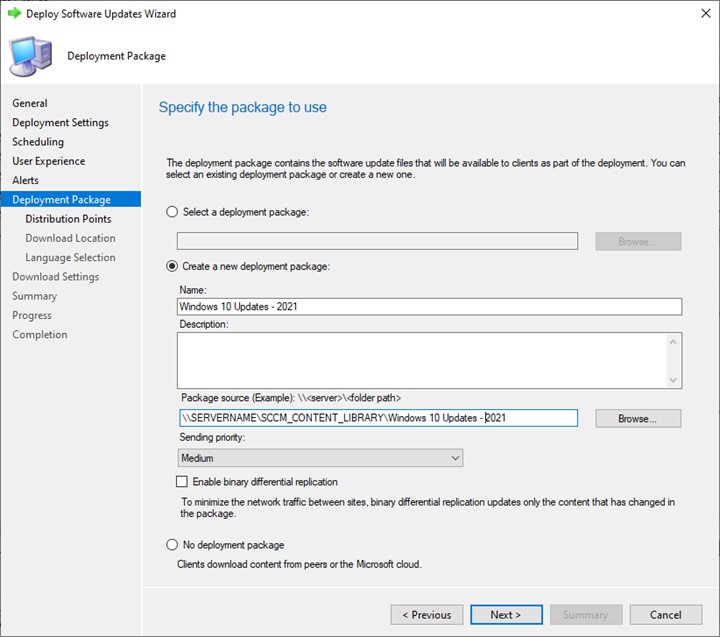
I do not want any alerts so I will skip that screen and move to the Deployment Package. On this screen you will need to create the Deployment Package and choose the folder where the update files will download.
On the Distribution Points screen, select the distribution point and click Next.
On the Download Location screen, I will leave Download software updates from the internet selected and click Next.
On the Language Selection, I will click Next.
On the Download Settings, I will keep the default settings and click Next.
On the Summary screen, I will click on Next.
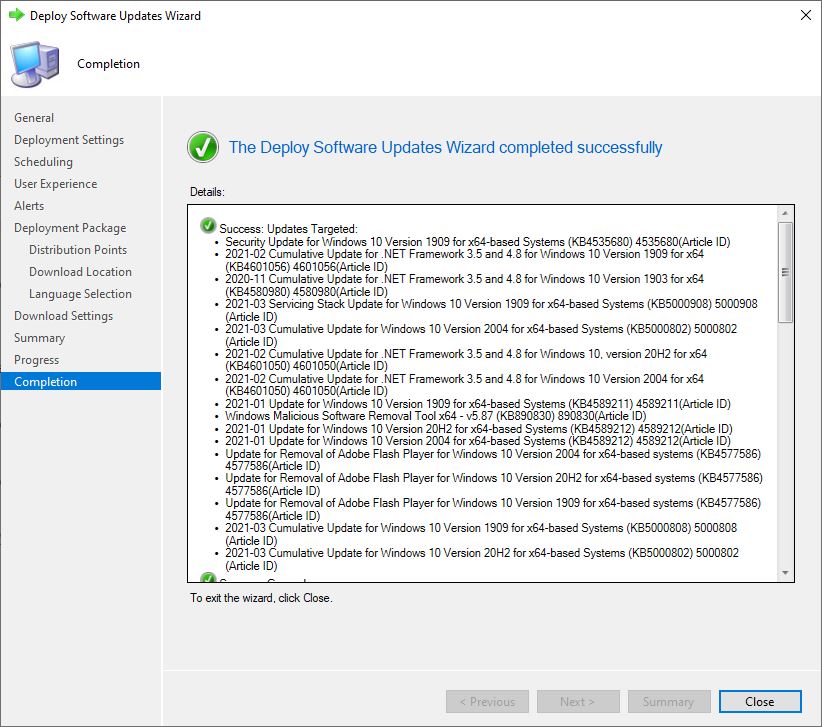
On the Completion screen, click Close.
The whole process will take some time to complete but you can monitor the progress by navigating to Monitoring>Overview>Deployments.
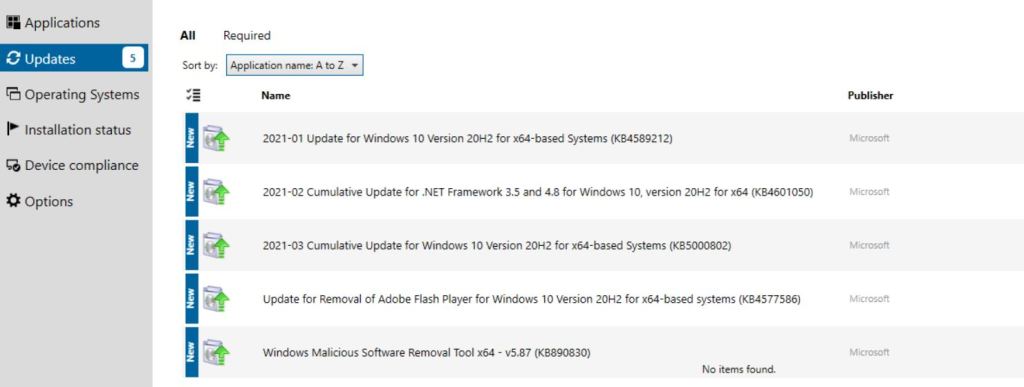
Within Software Center, if you click on the Updates tab you will see the updates pending an installation.