If you are primarily using Dell machines in your environment, then you may benefit from using the Dell Command Integration Suite (DCIS) for System Center which is part of the Dell Client Command Suite. With the DCIS add-on, you can easily import pre-packaged Dell drivers in the form of a single cab file for each model that you currently use. If you have imported drivers in the past, you will understand just how helpful this tool can be for streamlining the process.
Install DCIS
To download DCIS, navigate to https://www.dell.com/support/kbdoc/fr-ma/000178049/dell-command-integration-suite-for-system-center?lang=en.
Scroll to the Downloads section to download.
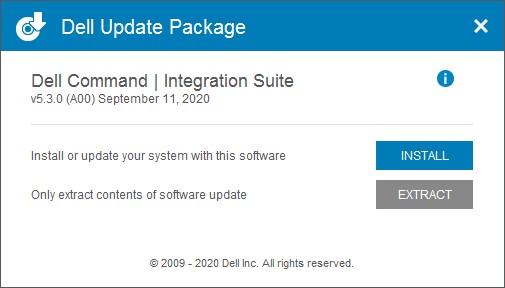
Right click the executable, Run as Administrator and select Install
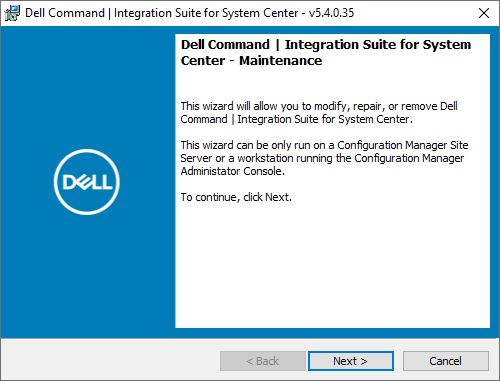
Click Next
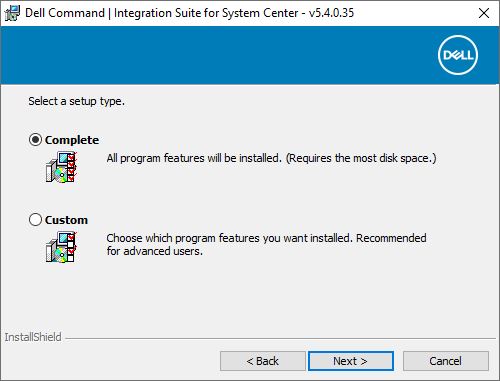
Accept the license agreement. Select Complete and Next
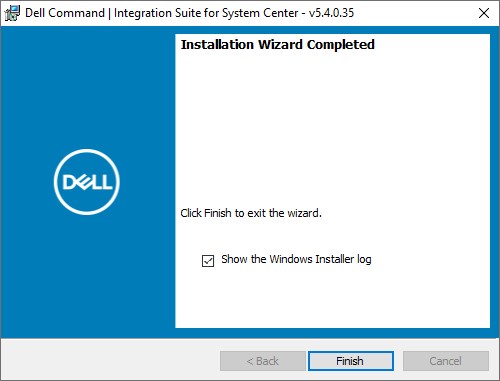
Click Finish
Verify Installation
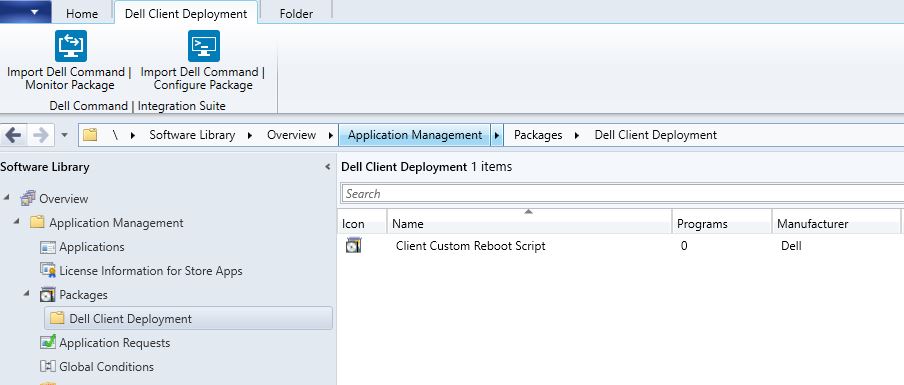
To verify DCIS installed successfully, open Configuration Manager and navigate to Software Library>Application Management>Packages>Dell Client Deployment
Adding Drivers
Once DCIS is installed, you can download cab files for each model of computer you are working with and import into Configuration Manager. To download the cab file, follow the instructions below:
1. Go to www.dell.com/support.
2. Enter Dell Service Tag, Dell EMC Product ID, or Model.
3. Click Drivers & Downloads.
4. From the Operating system drop-down list, select the operating system.
5. From the Category drop-down list, select Systems Management.
6. Click Dell Command Deploy Driver Pack or Dell Command Deploy WinPE Driver Pack.
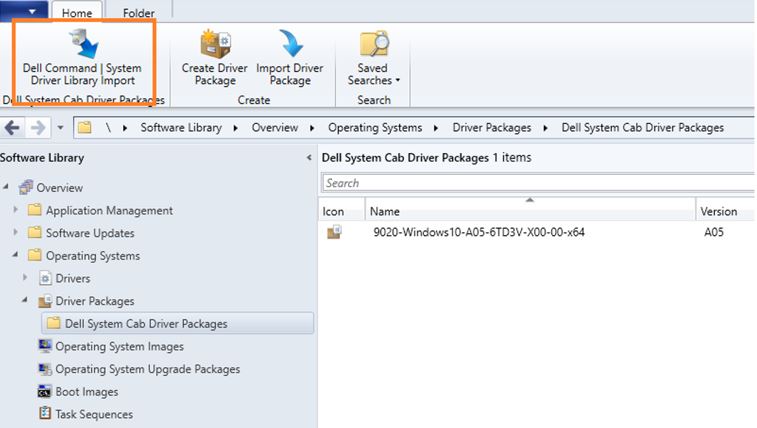
Once you have the cab file you require, navigate to Software Library>Operating Systems>Driver Packages>Dell System Cab Drive Packages and click on Dell Command | System Driver Library Import in the top left corner of the SCCM window.
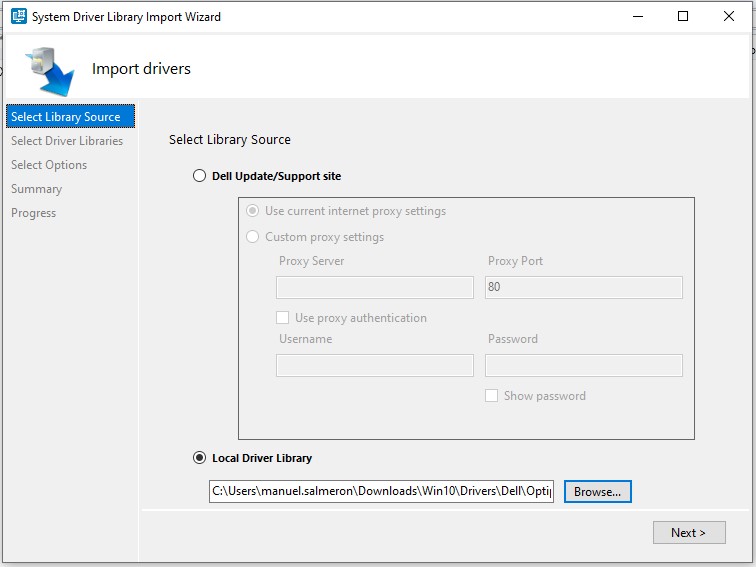
On the Select Library Source screen, click on Local Driver Library and browse to the location where you saved the cab file and click Next.
(Note: This will extract all of the driver inf files onto the System Center server for OSD)
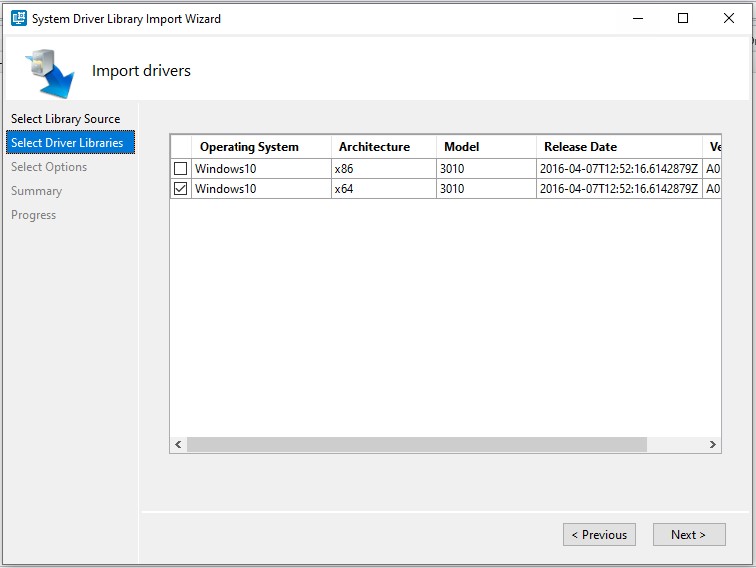
Choose the OS architecture and click Next.
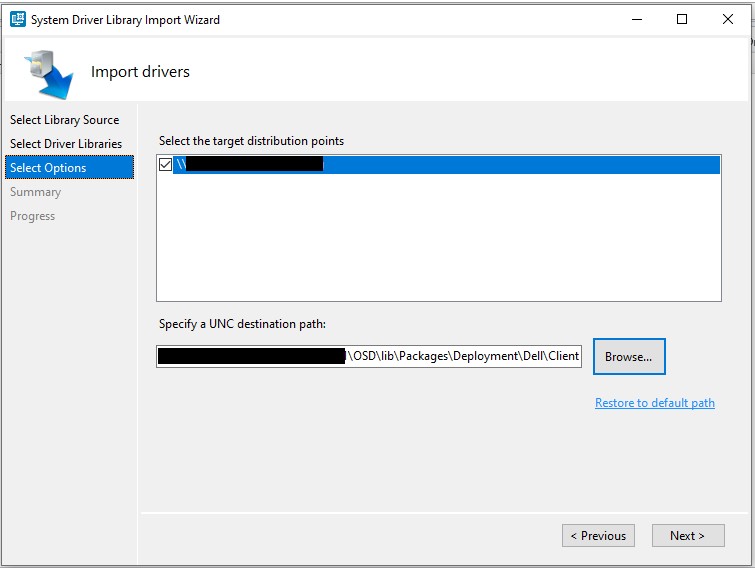
Select the Distribution Point and click Next.
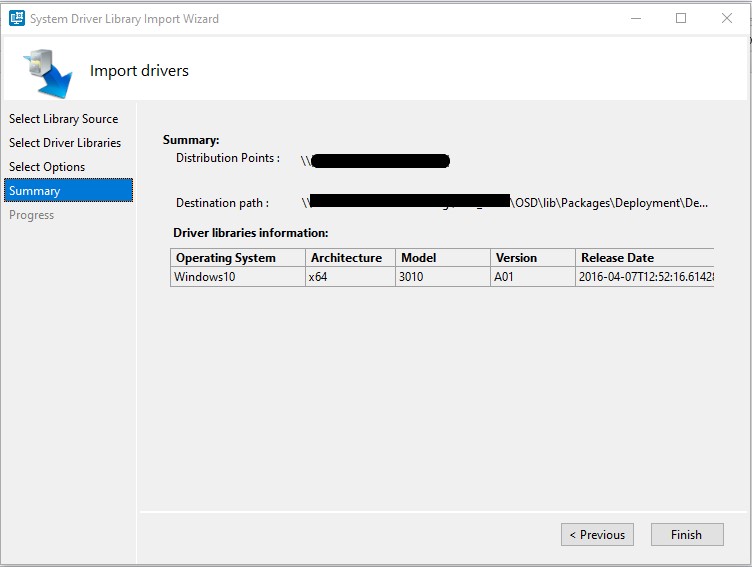
On the Summary page, click Finish.
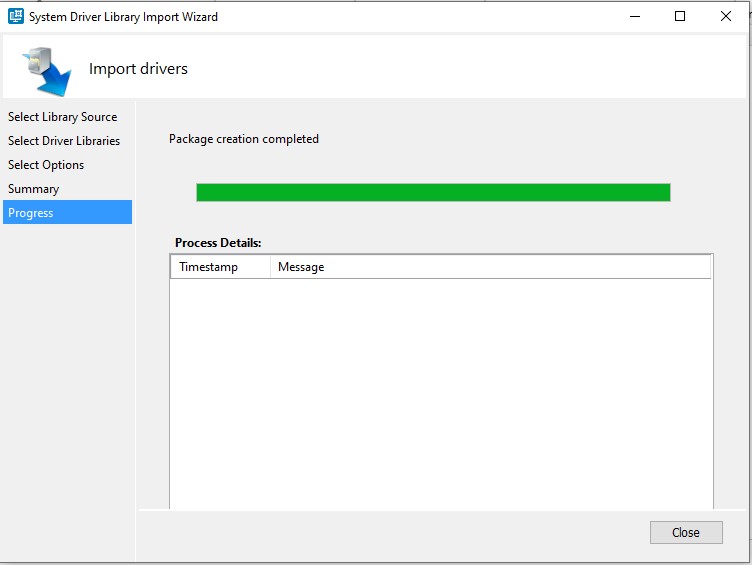
Depending on the size and amount of driver files, the extraction/import process can take a few minutes. Once the process is complete, click Close.
Navigate to Software Library>Operating Systems>Drivers>Dell and depending on the computer model, create a new folder to move the drivers to by right clicking on the device type.
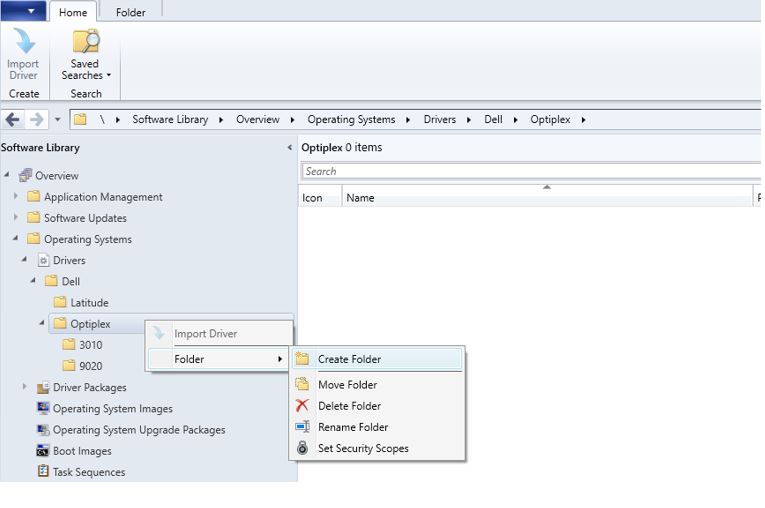
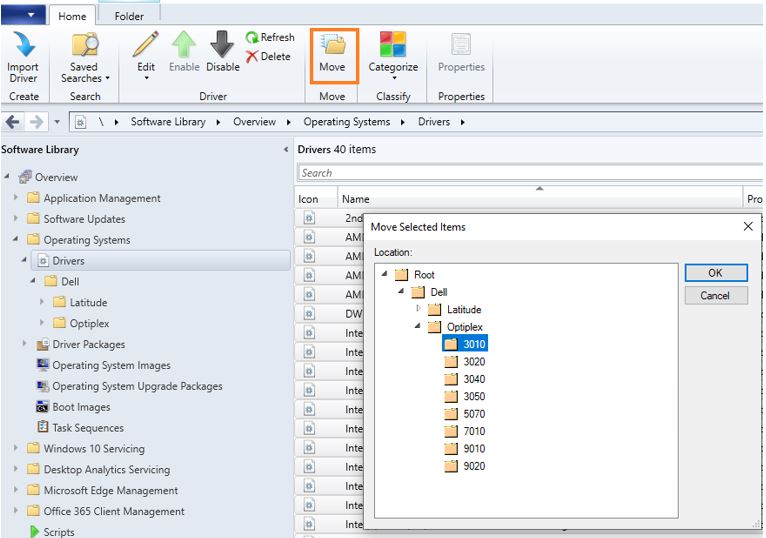
Navigate to Software Library>Operating Systems>Drivers and highlight all the newly imported drivers to move them. Click on Move and drill down to the new folder you just created and click OK.
The drivers should automatically show up in your Task Sequence so need for any additional steps.

