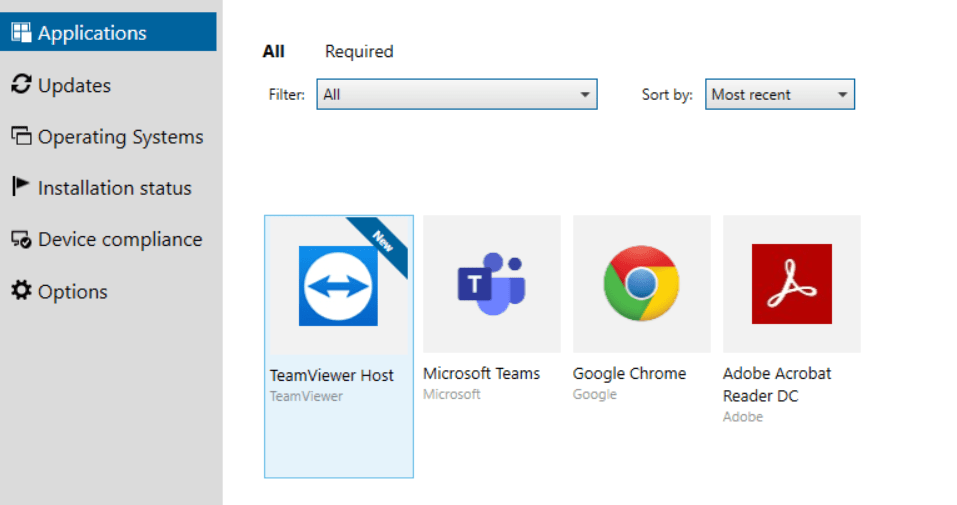
In this post, we will outline the steps needed to install TeamViewer Host on all user computers for easy remote access. Once you have configured your customizations in TeamViewer, we will be downloading the TeamViewer Host MSI file. Take note of the Configuration ID and the API token for account assignment. These can be found in the custom module you created under Design & Deploy.
Create Package
In SCCM, navigate to Software Library>Overview>Application Management>Applications and click on Create Application. Choose the MSI file location and click Next.
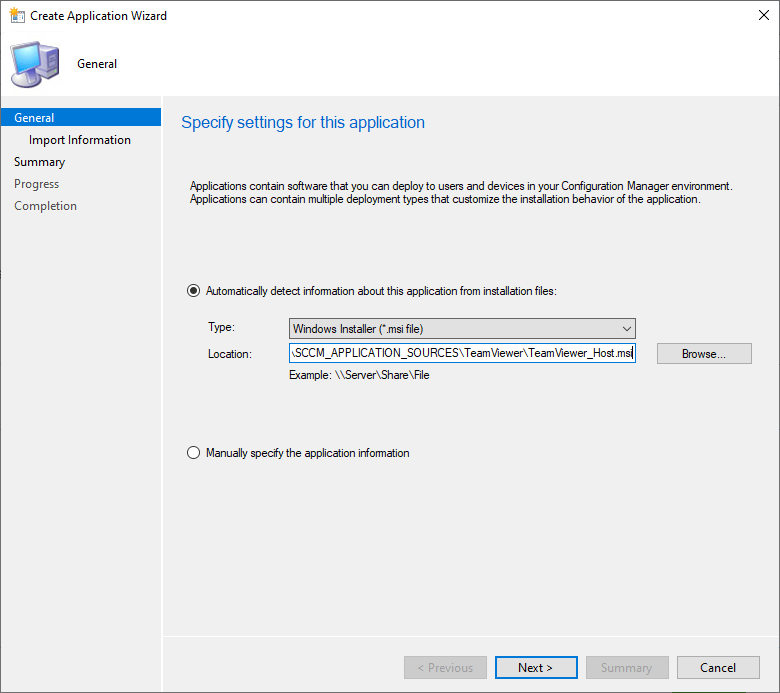
Click Next.
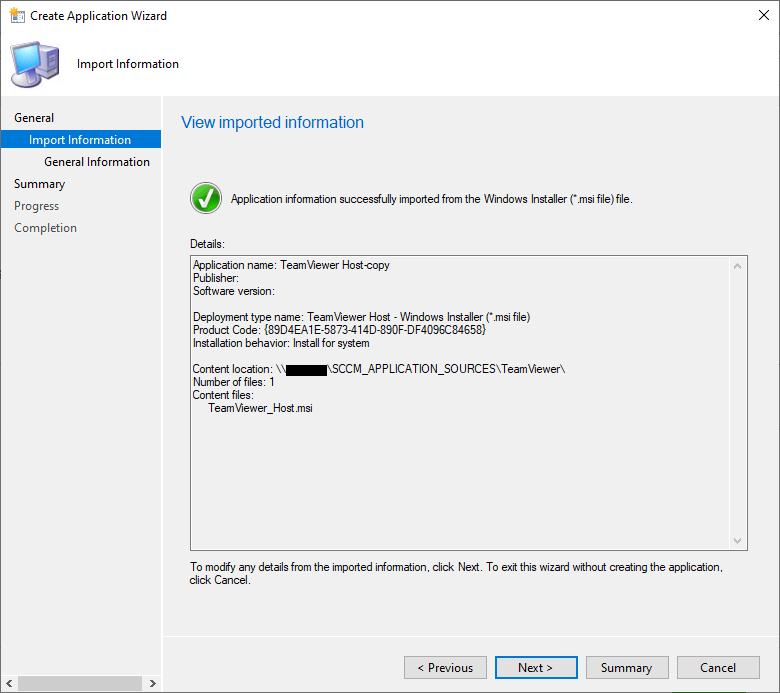
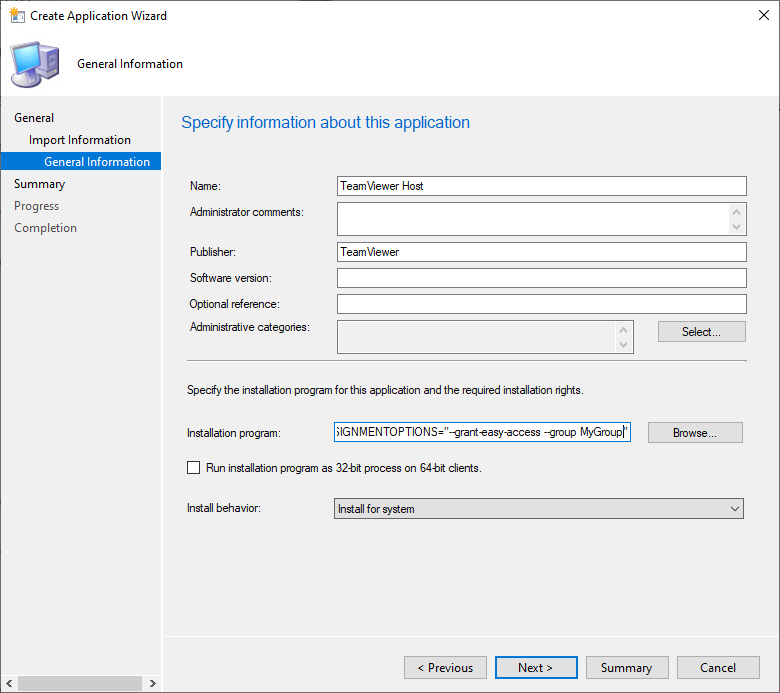
Here is where we will make the most important changes. In the Installation Program field, type the following customization:
msiexec /i “TeamViewer_Host.msi” /q CUSTOMCONFIGID=<YOURCUSTOMID> APITOKEN=<YOURAPI-TOKEN> ASSIGNMENTOPTIONS=”–grant-easy-access –group GroupName”
CUSTOMCONFIGID – This is the custom configuration ID you can get once you create a custom module in TeamViewer
APITOKEN – This is the token you get once you select the option to allow account assignment
ASSIGNMENTOPTIONS – You can use this switch to grant easy access and assign the group name you wish to move the computer to.
TeamViewer states you don’t need the ASSIGNMENTOPTIONS switch if you are using a CUSTOMCONFIGID, however, I have found that my deployment only worked the way I wanted when I used both switches. Here a few common switches you may use:
- –grant-easy-access – If you set this option easy access is granted after assignment (same as the “Grant easy access” option in the TeamViewer main window).
- –reassign – Assigns the device to the account even if the device is already assigned to an account.
- –group <name> – Name of the group in which the device will be added. When the group doesn’t exist it will be automatically created. If the device is already present in the computers & contacts list in a different group, it won’t be moved to the group. If you however use the parameter “–reassign”, also the group will be moved.
- If you have parameter values with blanks (e.g. for the group name) use two double quotes (not single double quotes!) to frame them. For example, ASSIGNMENTOPTIONS=”–group “”My Group”””
Once you specify the switches you want, select the Next.
On the Summary page, click Next. Once completed, click Finish.
After the application has been created, you can deploy to your device collection and test.