In this post, we will walk through creating an application using a .EXE file instead of a .MSI file. You may have come across a time where the only option available for an application is .EXE. These two file types differ in many ways. A .EXE file has the same structure as a zipped archive. It can contain multiple files within it, including several .MSI files. You will find it is a bit trickier to deploy a .EXE application, so whenever possible, search for the .MSI file. If one isn’t available, continue through this post.
Breaking Down the EXE file
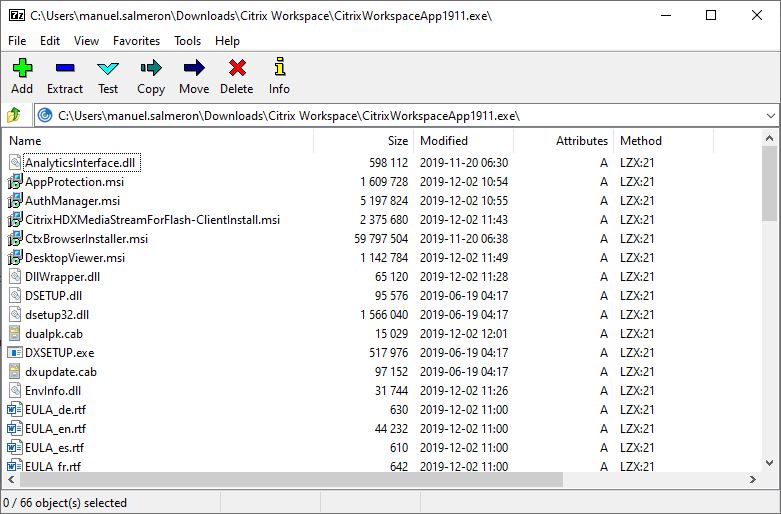
A .EXE File is like a zipped archive folder. This means we can view the contents of the .EXE file using an unzipping program like 7Zip. In this post, I will be using Citrix Workspace as an example. Using 7Zip or another unzipping program, open the archive. As you can see below, there are several different file types included in this one .EXE file.
Identify Switches
One important aspect of deploying .EXE files is learning what switches are going to be used. Once you have downloaded the application you want deploy, use PowerShell or Command Prompt to find out the available switches you can use.
In Command Prompt or PowerShell, use the /help or /? switch to show the available switches for the application.
CitrixWorkspaceApp.exe /help
Supported parameters:
/help – Displays this usage information
/uninstall – Removes an existing installation
/silent – Suppresses all graphical user interface
/noreboot – Suppresses all reboots and reboot prompts
/preview – Displays preview of changes without altering the machine
/extract – Extract self-extracting package to an existing folder
/includeSSON – Installs the single sign-on component for domain pass-through logon
/EnableCEIP – Enables (true) or disables (false) the Citrix Customer Improvement Program (CEIP)
/AutoUpdateCheck – Enables automatic update (auto), enables manual update (manual), bans AutoUpdate (disabled)
/AutoUpdateStream – Specify AutoUpdate stream to be in long term (LTSR) or short term service releases (Current)
/DeferUpdateCount – Specify number of times AutoUpdate can be deferred
You can also check the developers website for any more documentation. Luckily, Citrix provides a well documented page for all of the possible switches available. You can find that page here.
I would recommend trying to install and uninstall the program on your machine using PowerShell or Command Prompt before attempting to deploy through SCCM. This way, you can guarantee the switches needed for a successful installation.
Create Package
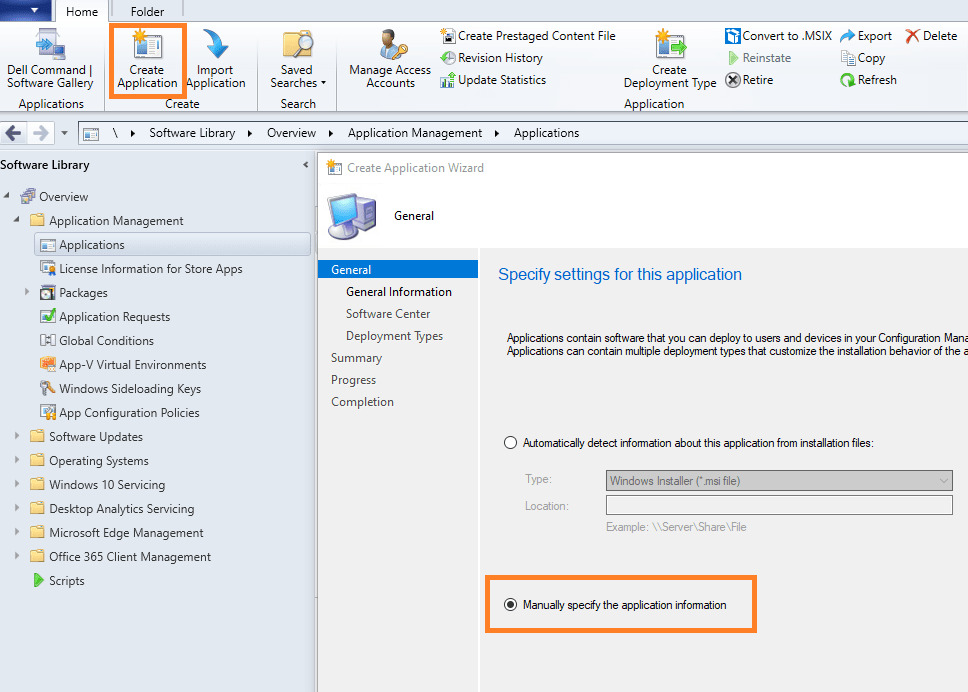
In SCCM, navigate to Software Library>Overview>Application Management>Applications and click on Create Application. We will be choosing Manually specify the application information and click Next.
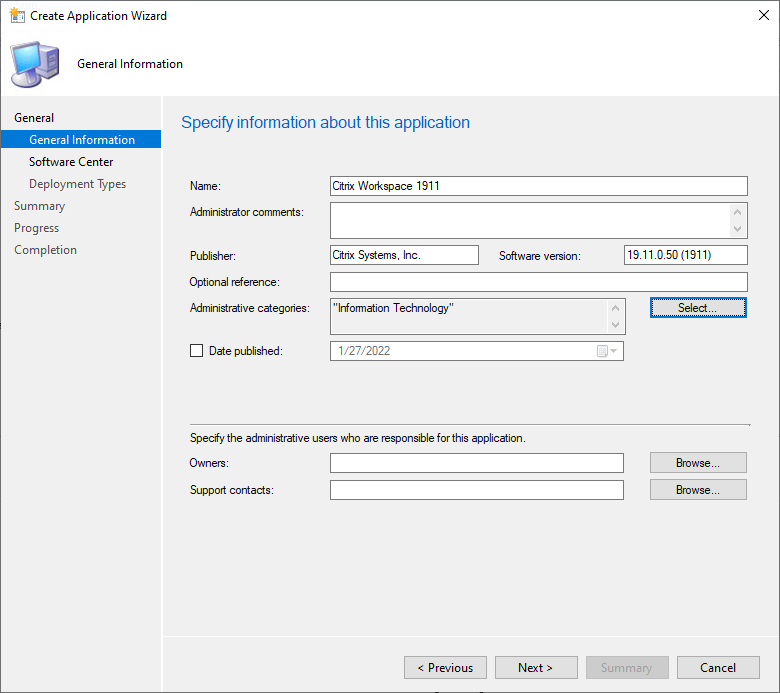
Enter in the application details and click Next.
Enter in any details to display in Software Center and click Next.
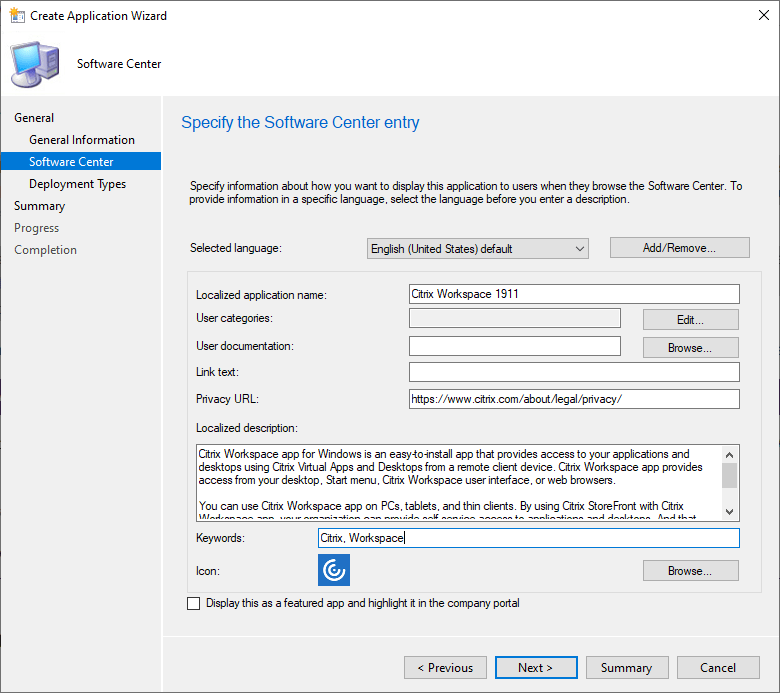
Now, we will add the deployment type. Click Add.
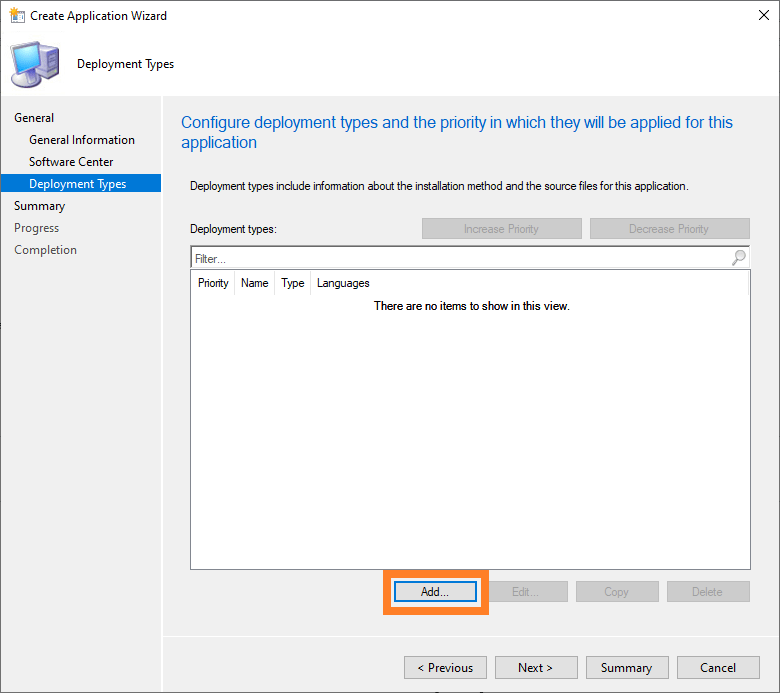
For the deployment type, we will be choosing Script Installer. Click Next.
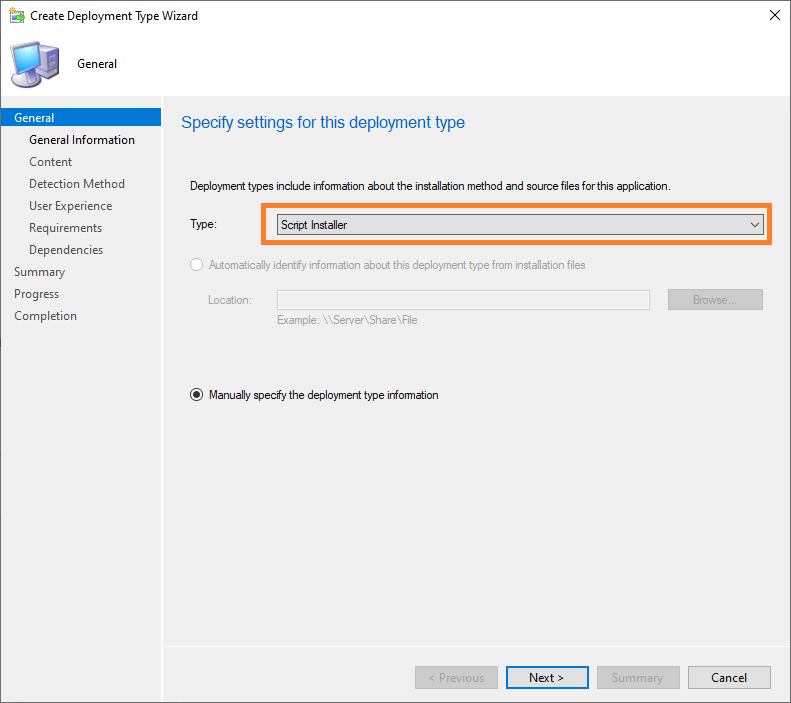
Give the deployment type a name and click Next.
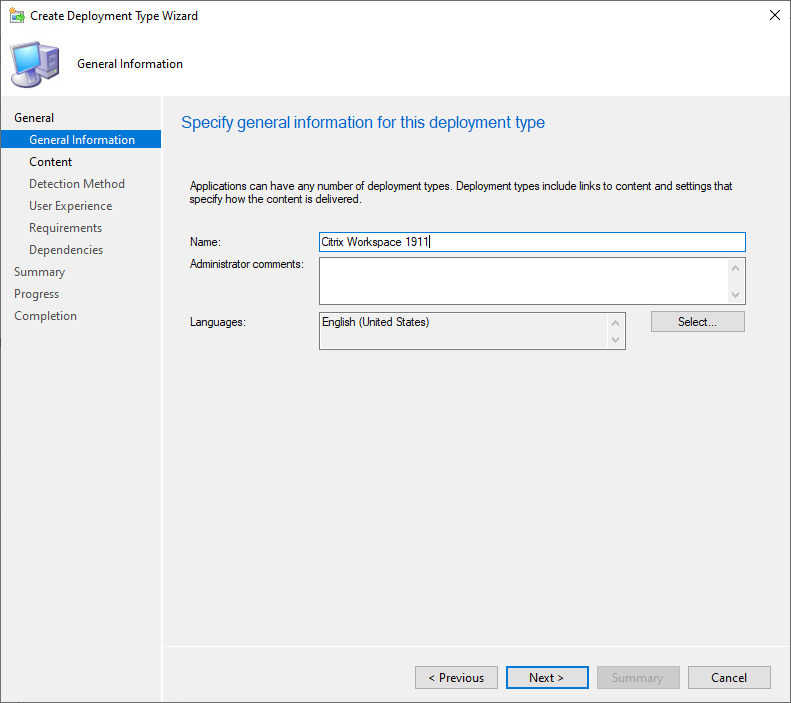
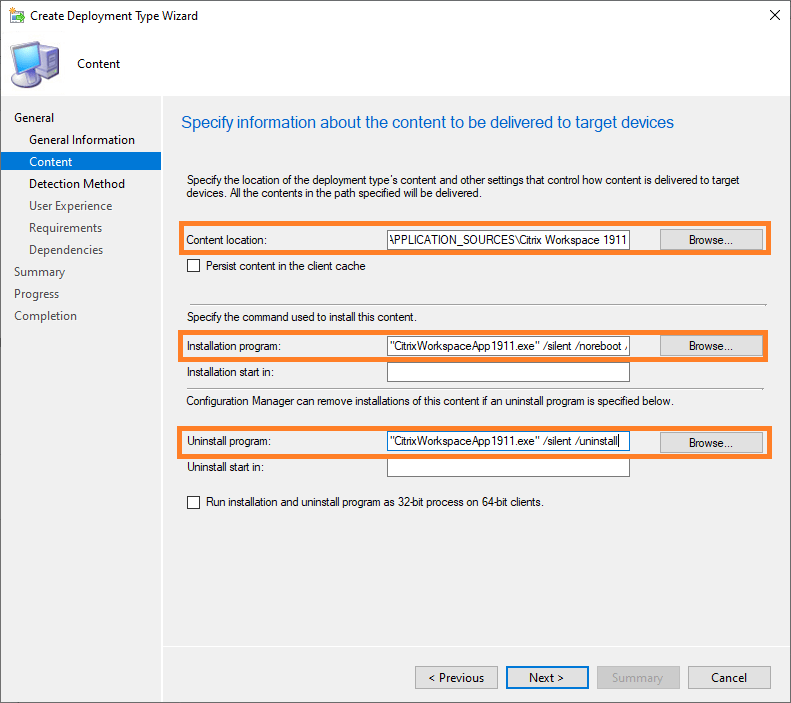
Next, we will be specifying the content location and the commands used to install the application and also uninstall the application.
I will be using the command below for installation and uninstallation. This is what worked for me during my local install testing phase.
Install:
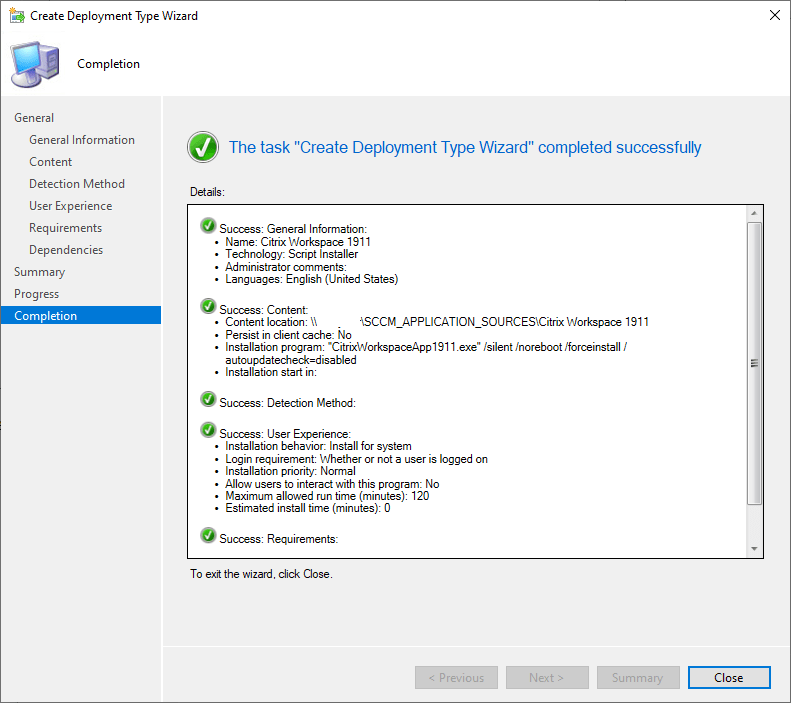
“CitrixWorkspaceApp1911.exe” /Silent /NoReboot /ForceInstall /AutoUpdateCheck=Disabled
Uninstall:
“CitrixWorkspaceApp1911.exe” /Silent /Uninstall
Click Next.
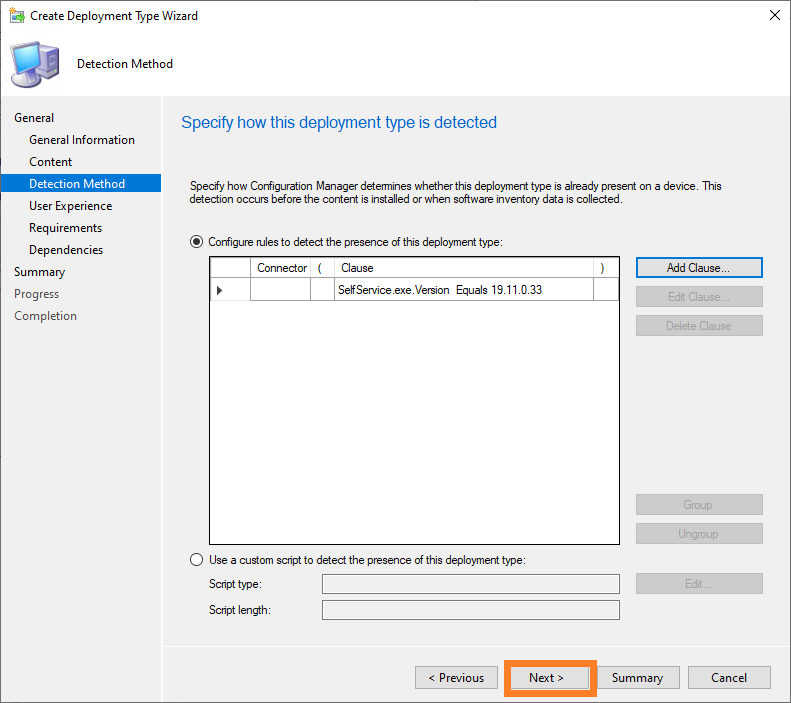
On the Detection Method page, click Add Clause.
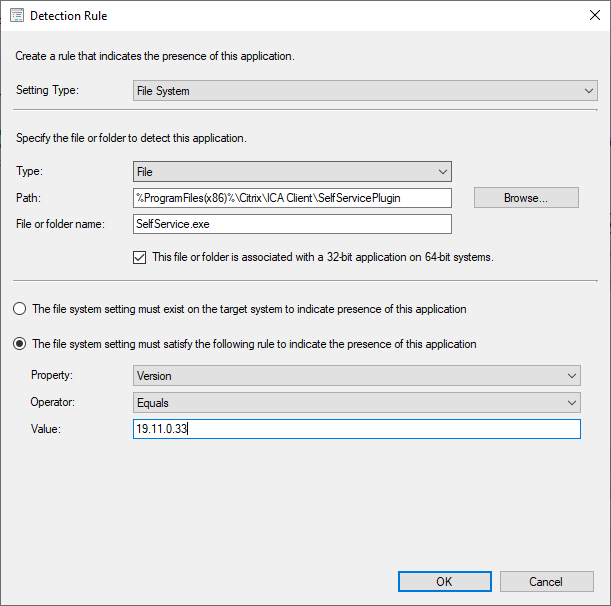
On the Detection Rule dialog box, enter the information for detection. It is important to install the application on your test machine first to get the actual location of the program. For Citrix Workspace, the installation folder path is C:\Program Files (x86)\Citrix\ICA Client\SelfServicePlugin\ and the target application is called SelfService.exe.
I will be using the following settings:
Setting Type: File System
Type: File
Path: %ProgramFiles(x86)%\Citrix\ICA Client\SelfServicePlugin
File or folder name: SelfService.exe
Check the box: The file system setting must satisfy the following rule to indicate the presence of this application
Property: Version
Operator: Equals
Value: 19.11.0.33
Click OK to close the Detection Rule dialog box.
Click Next.
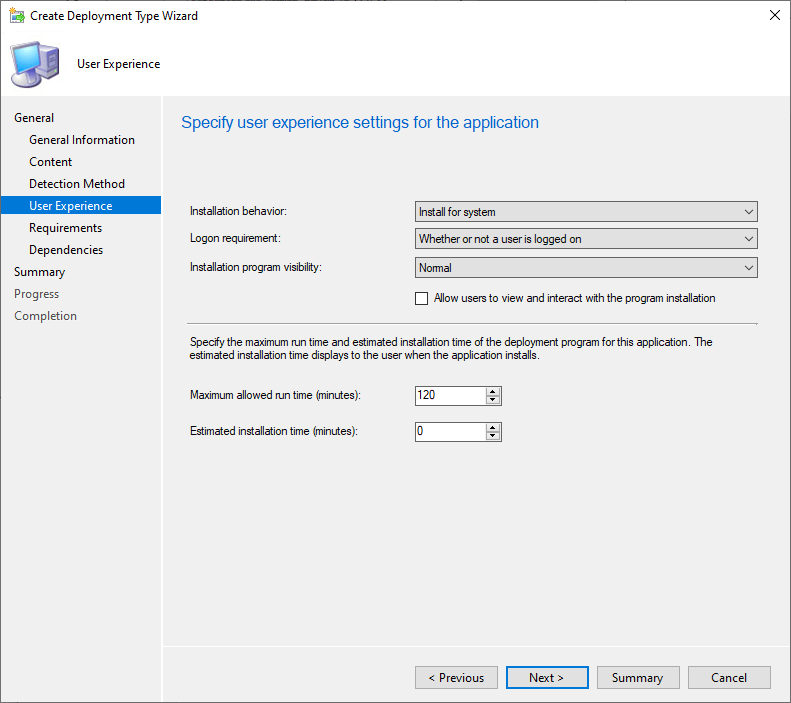
On the User Experience page, you can choose the settings that meet your needs and click Next.
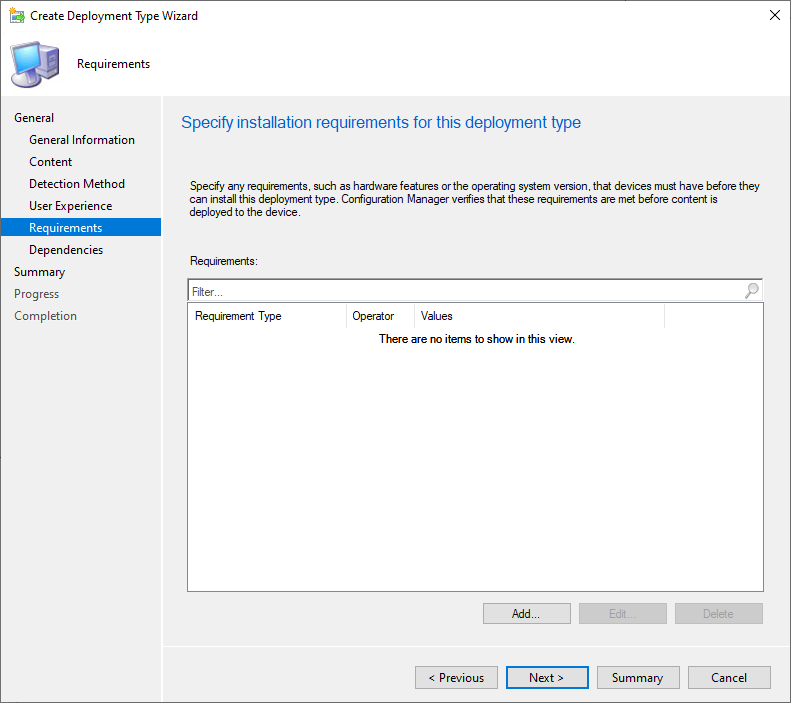
Specify an requirements for the deployment and click Next.
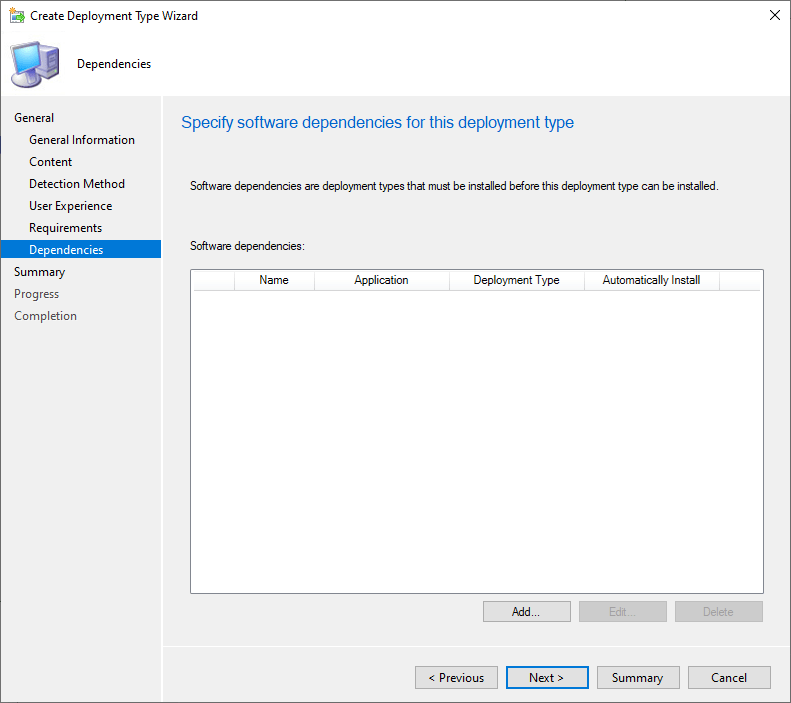
Specify any dependencies for the application and click Next.
Click Next on the Summary page and Close on the Completion page.
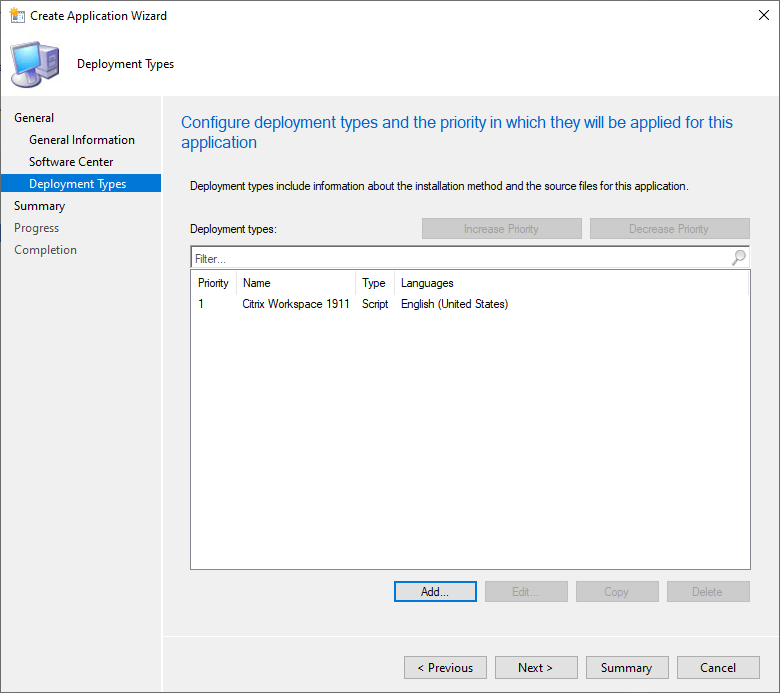
Click Next on the Deployment Types page.
Click Next on the Summary page and Close on the Completion page.
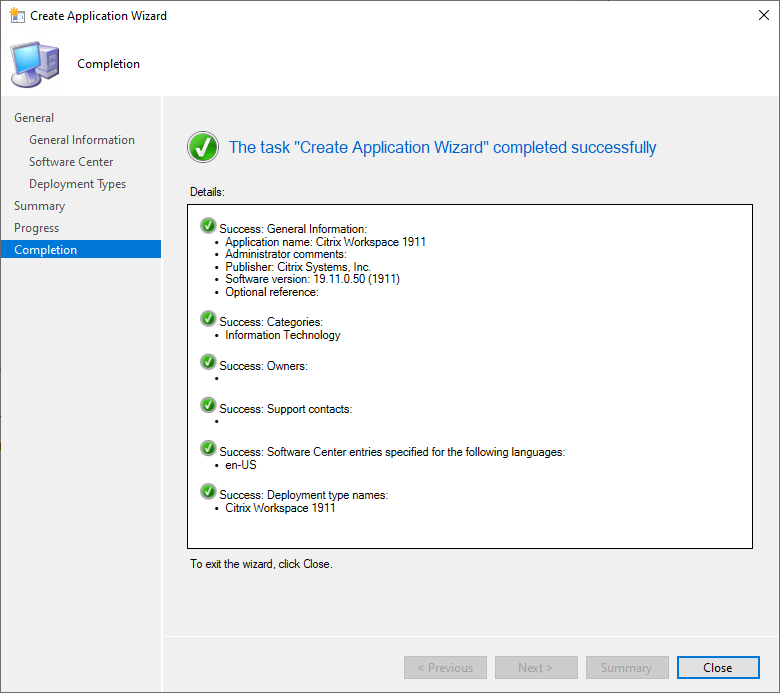
You have now created an application using a .EXE file. The next step is to deploy it to a test group and verify the installation is successful.

