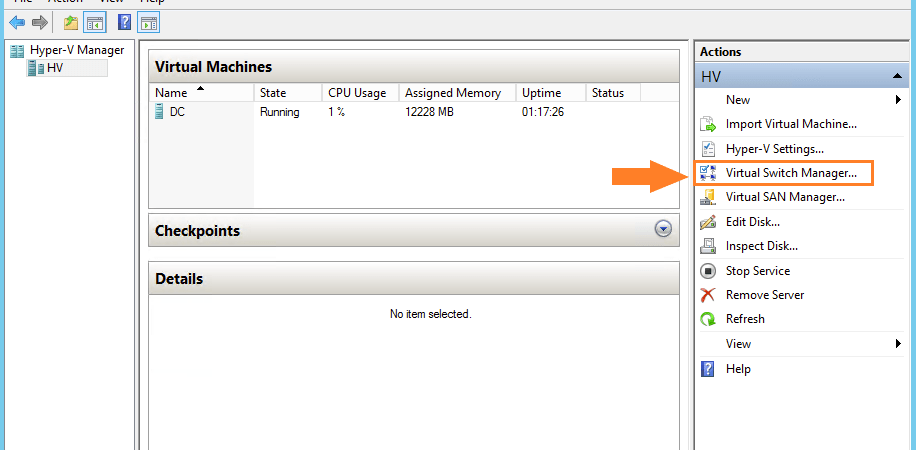
In this quick post, I will walk through the steps for rebuilding a failed Hyper-V virtual switch. I was unable to remote into or even ping one of our domain controllers. Once I logged into the hypervisor, I noticed the virtual switch the virtual machine was configured to use had a limited internet connection. After checking the Network and Sharing Center, I also noticed the vEthernet Hyper-V Adapter was missing.
To fix this, I just had to delete the old virtual switch and recreate it.
First, launch Hyper-V Manager and power off the virtual machine(s) that use the virtual switch
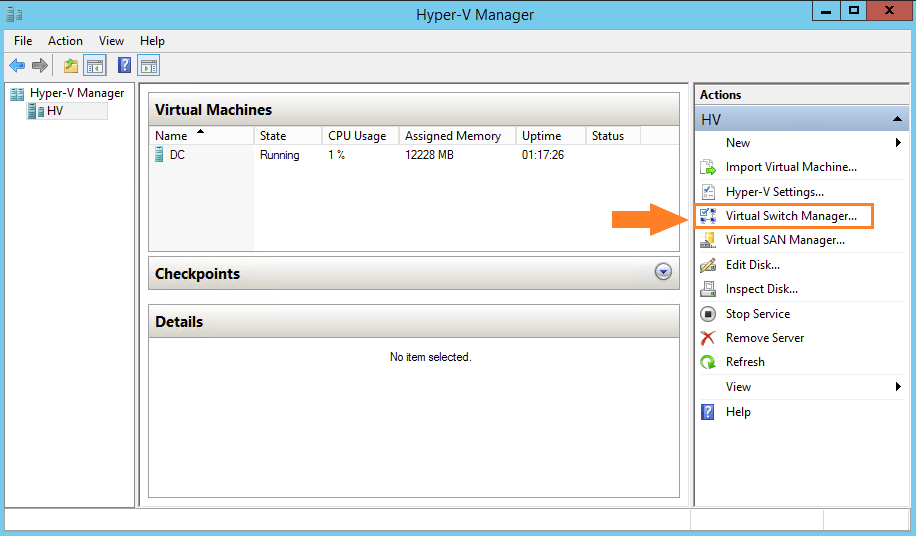
Once the machine(s) are powered off, click Virtual Switch Manager
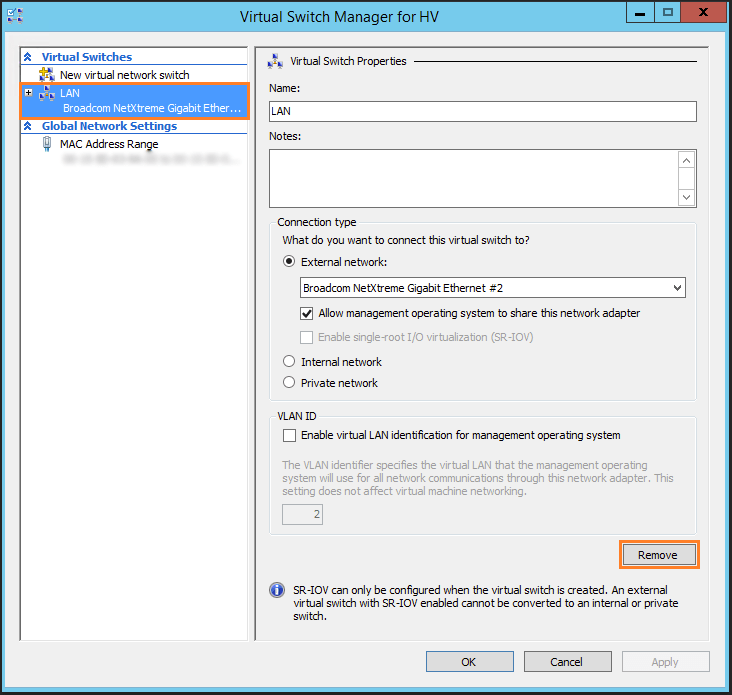
In the Virtual Switch Manager, select the virtual switch in question and click Remove
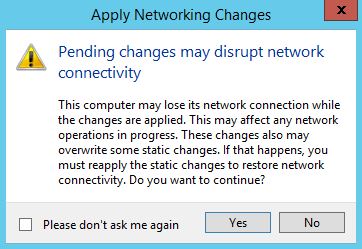
You may be prompted with a warning of pending changes causing network connectivity disruptions. If so, click Yes
Click Apply and OK in the Virtual Switch Manager window
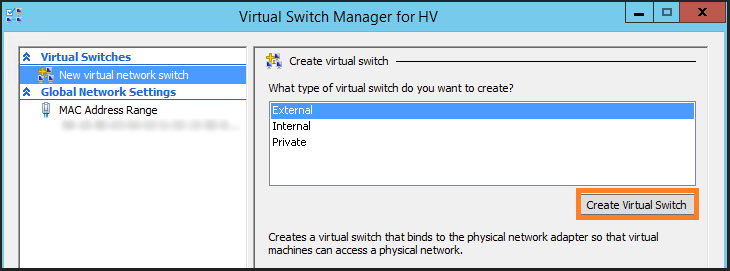
Re-launch the Virtual Switch Manager and this time select Create Virtual Switch
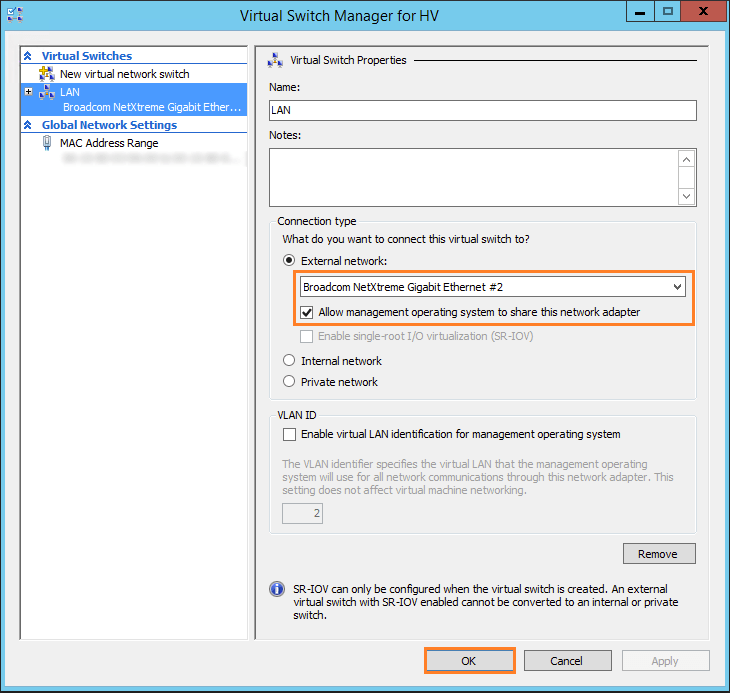
Make sure to select the correct physical NIC and if you want to allow management operating system to share this network adapter
Click Apply and OK
At this point, we need to configure the virtual machine(s) to use the newly created virtual switch
Right click the virtual machine and select Settings
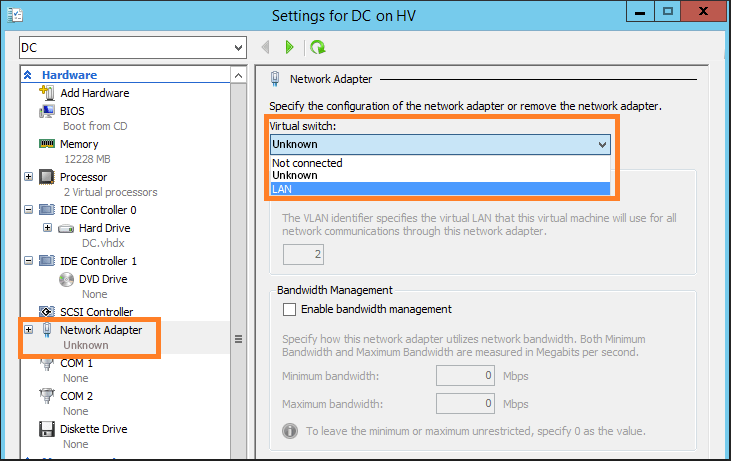
In the virtual machine settings, select Network Adapter on the left-hand side and click the virtual switch drop-down menu. As you can see, the previous virtual switch we deleted has been replaced with “Unknown“. From the drop-down, select the newly created virtual switch and click Apply and OK
Power on the virtual machine and that’s it!
If you check the Network and Sharing center, you will also see that the Hyper-V vEthernet Adapter is back as well.

